
The respondent’s data in the questionnaire and invitations to complete the survey
If you already have a contact database with additional data about your respondents (See how to do it), you can create a survey questionnaire in which you will use the data assigned to the respondent.
This function allows you to create dynamic questionnaire content. You can address respondents in its content using the polite form Mr./Ms. or by their first name. The system will make sure that each respondent receives the appropriate content. Your task is to take care of creating a template for such communication and the data that will be substituted in this template.
The undoubted benefit of using such a mechanism is assuring your Clients that they are treated in a special, individual way. But this is not the only use case for this mechanism - there are many examples of its use.
If you know the mail merge mechanism in Microsoft Word, this mechanism works on similar principles. We hope that this analogy will help you understand its purpose and how it works.
How to create a dedicated invitation?
In order to completely personalize the questionnaire and the invitation to complete the survey, remember to first add attributes to your contacts – if you haven't done so already. You can find the instructions here.
For the purposes of this example, we will use the attributes presented below.
Remember that you can add your attributes at any time, or import them along with a contact file.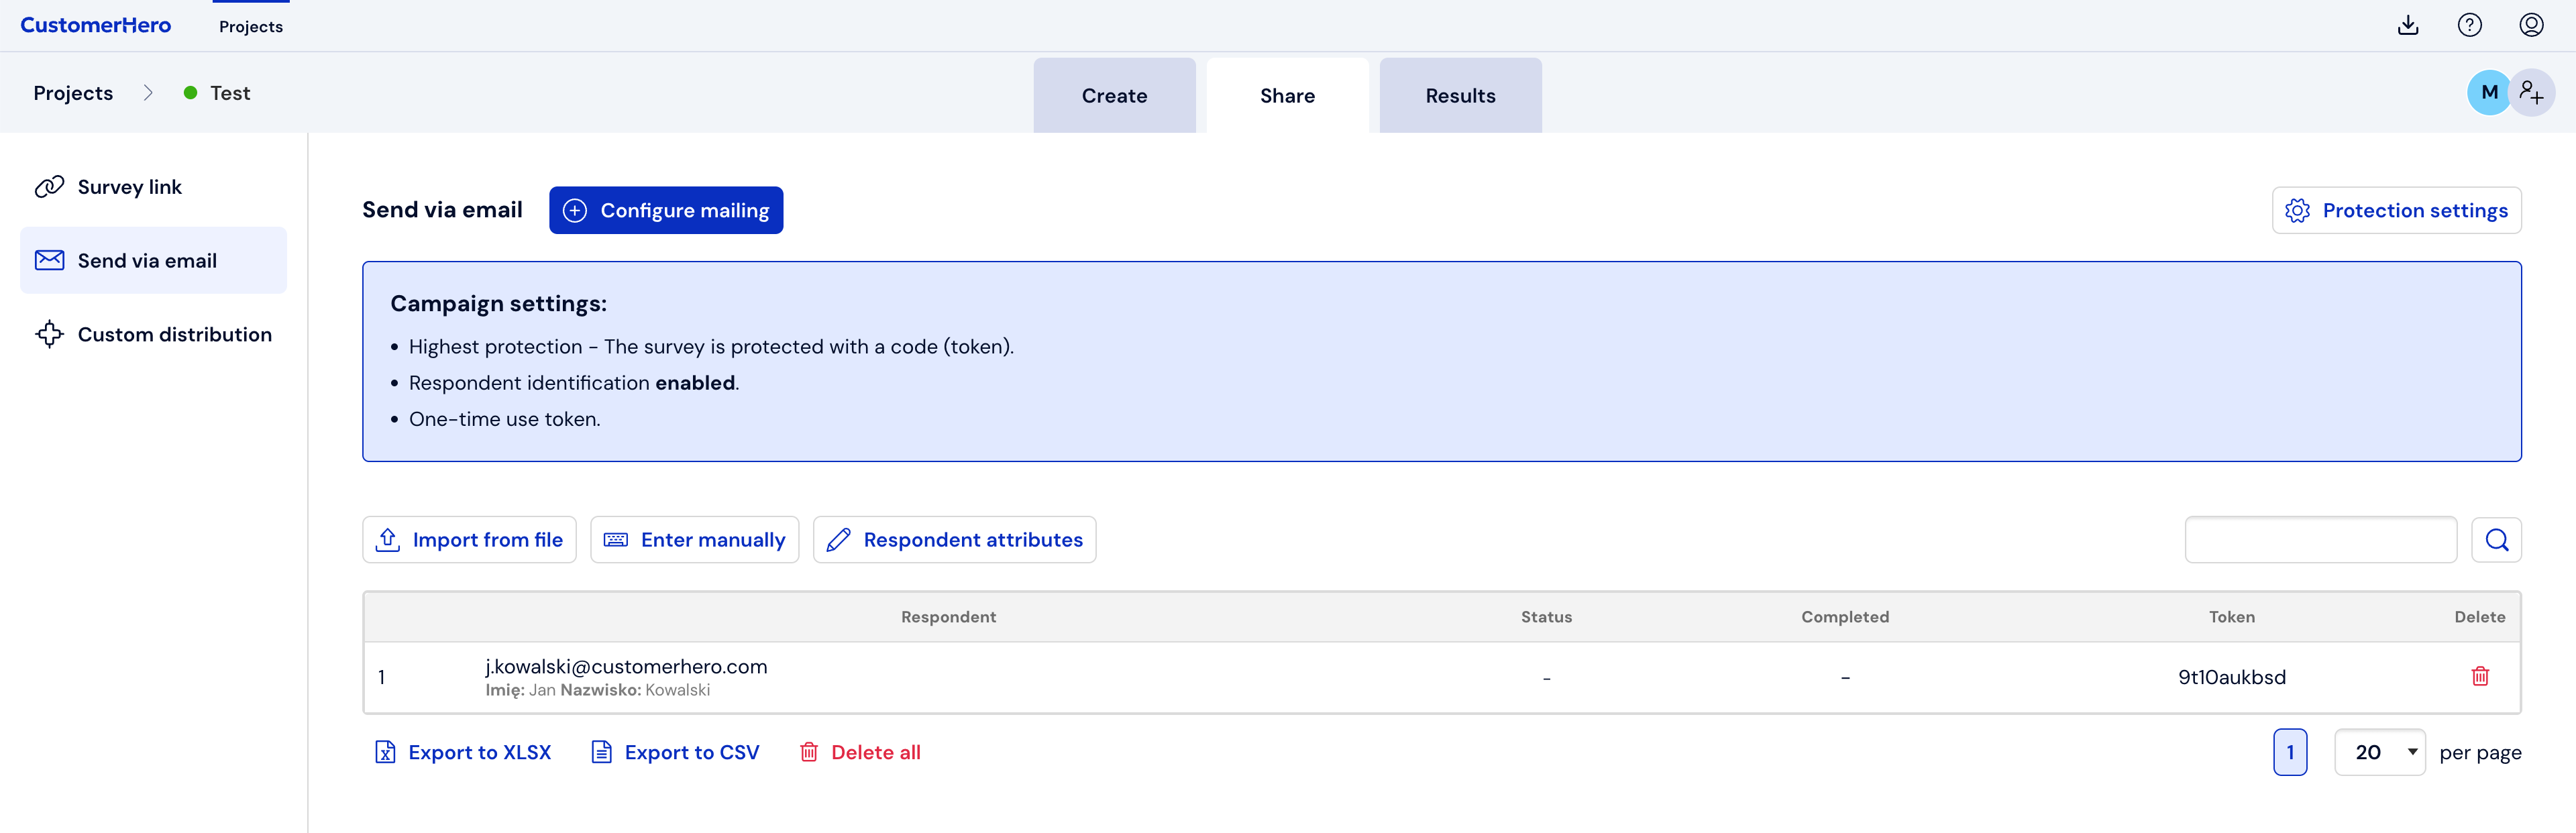
After adding respondents from your contact database (See how), click on the "Creation" tab.
Next, select the "Survey settings" option.
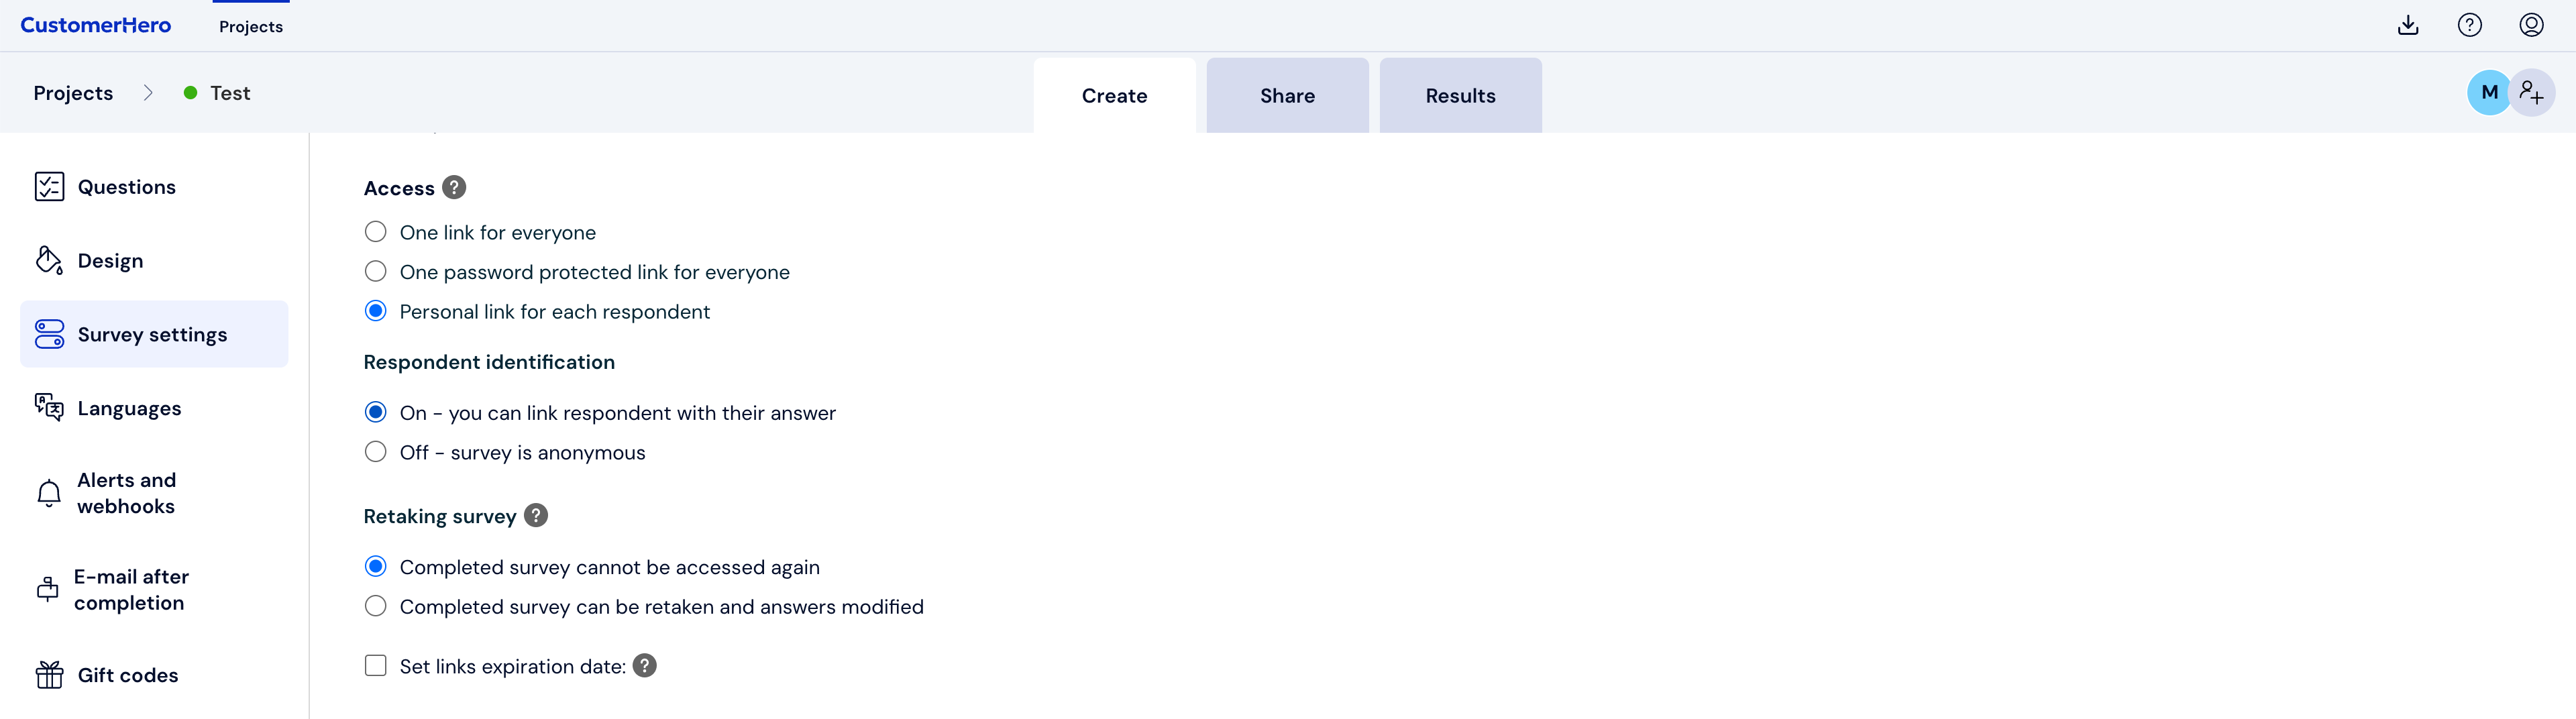
5. In the "Access" section, select "individual link for each respondent" along with enabled respondent identification.
6. Further on, go to the "Collection" tab, and then select the "Send to email" option.
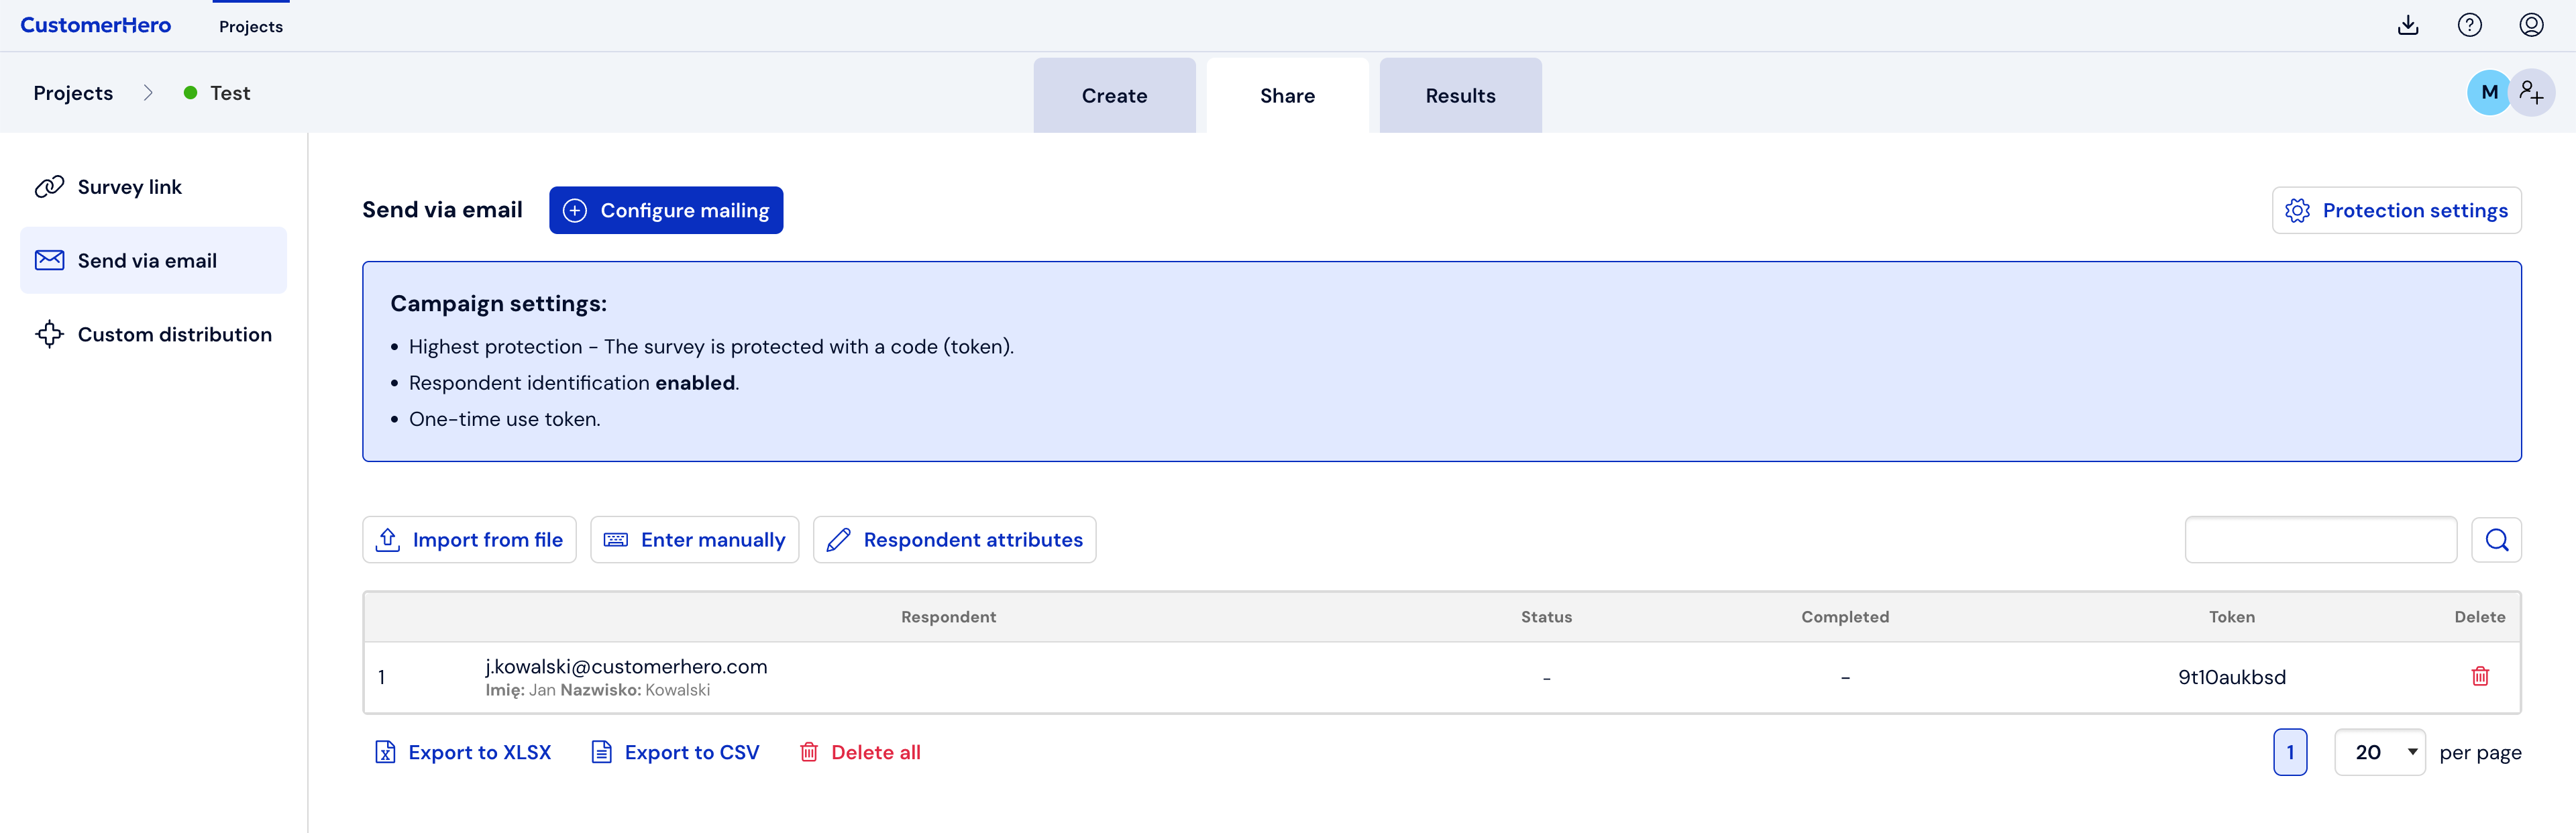
7. Next, select the "Configure sending" option, and follow further instructions.
8. Go to the last step, where you manage the content of your invitation.
9. To personalize your invitation, place your attributes assigned or imported earlier in the contacts section in the "Invitation content" area.
10. In the example below, the selected attributes are: First Name, Last Name, and Company, but they can be any attributes that will be useful to you.
11. From the "Dynamic content" button, you can select attributes in the text of the invitation. As you can see below, the data that we previously placed in the mailing database will be substituted in place of the [IMIE] and [NAZWISKO] macros.
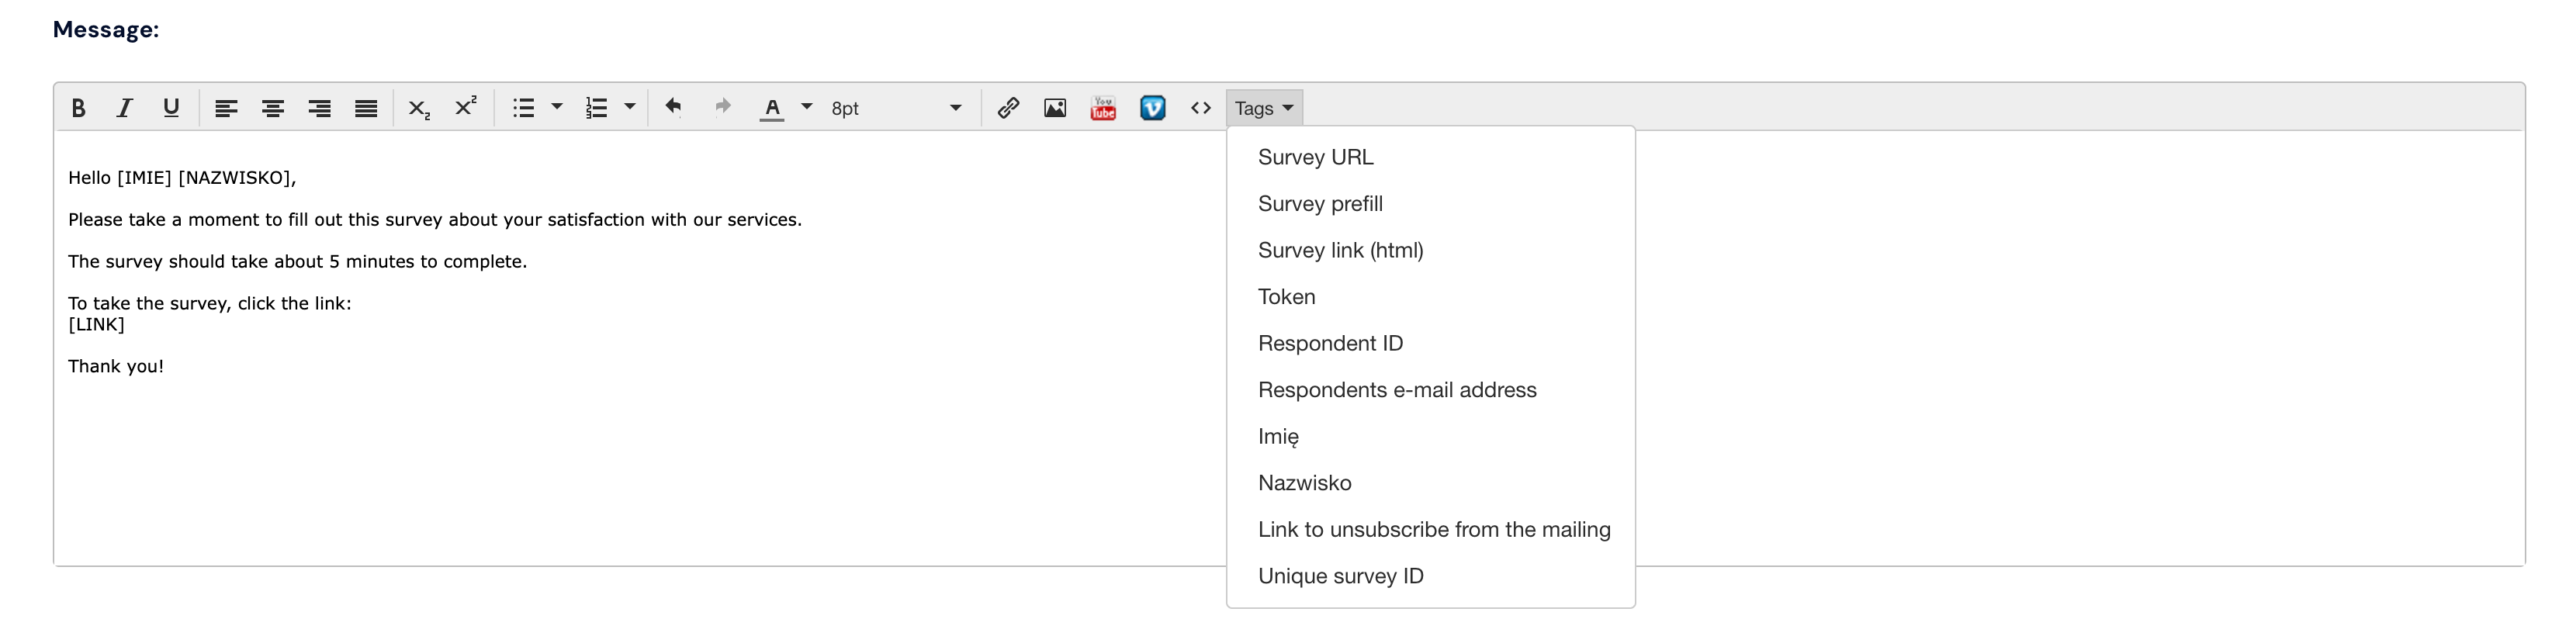
12. Below the invitation, a preview of the final message is visible. In place of the attributes, the phrases Example label 1 Example label 2. will appear. This is not an error, because the correct content will appear in the email message.
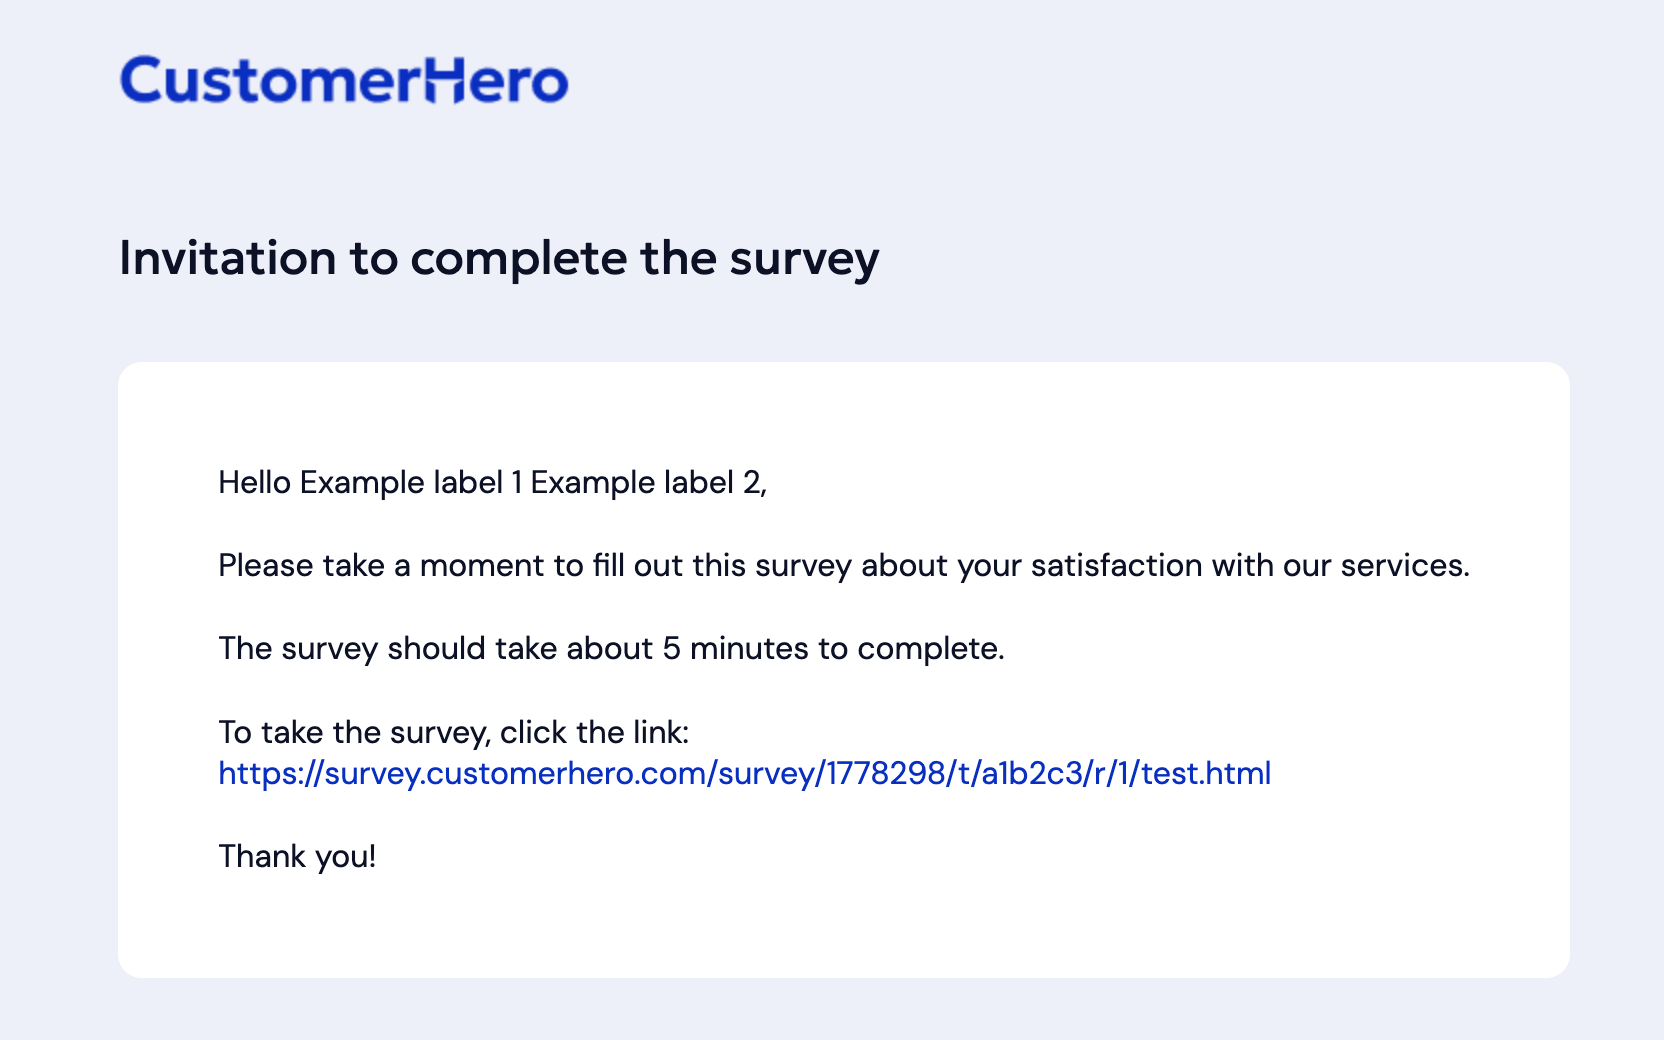
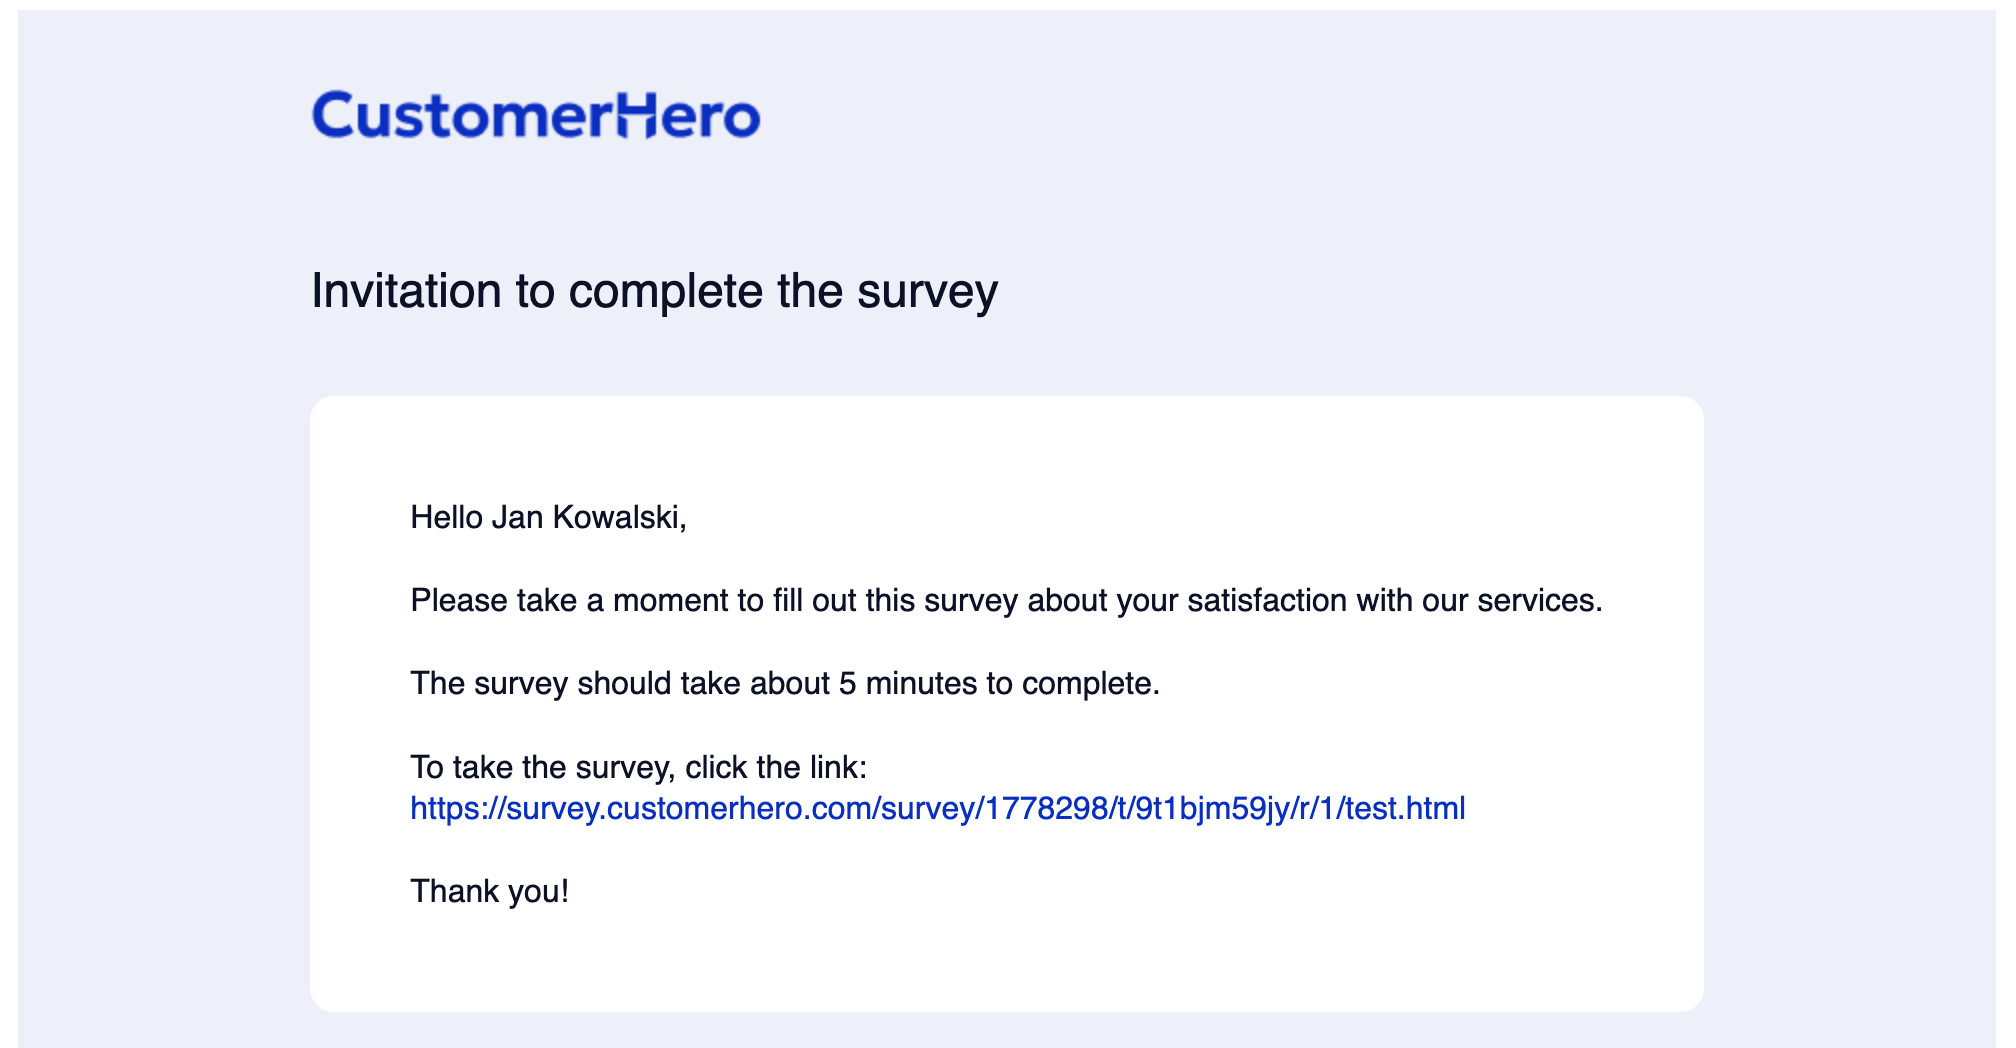
Appearance of the received email message:
How to create a questionnaire containing respondent data?
In this case, your list of respondents must be defined in the same way you defined it for the dedicated invitation. If you haven't done this yet, follow steps 1-6 from the previous example.
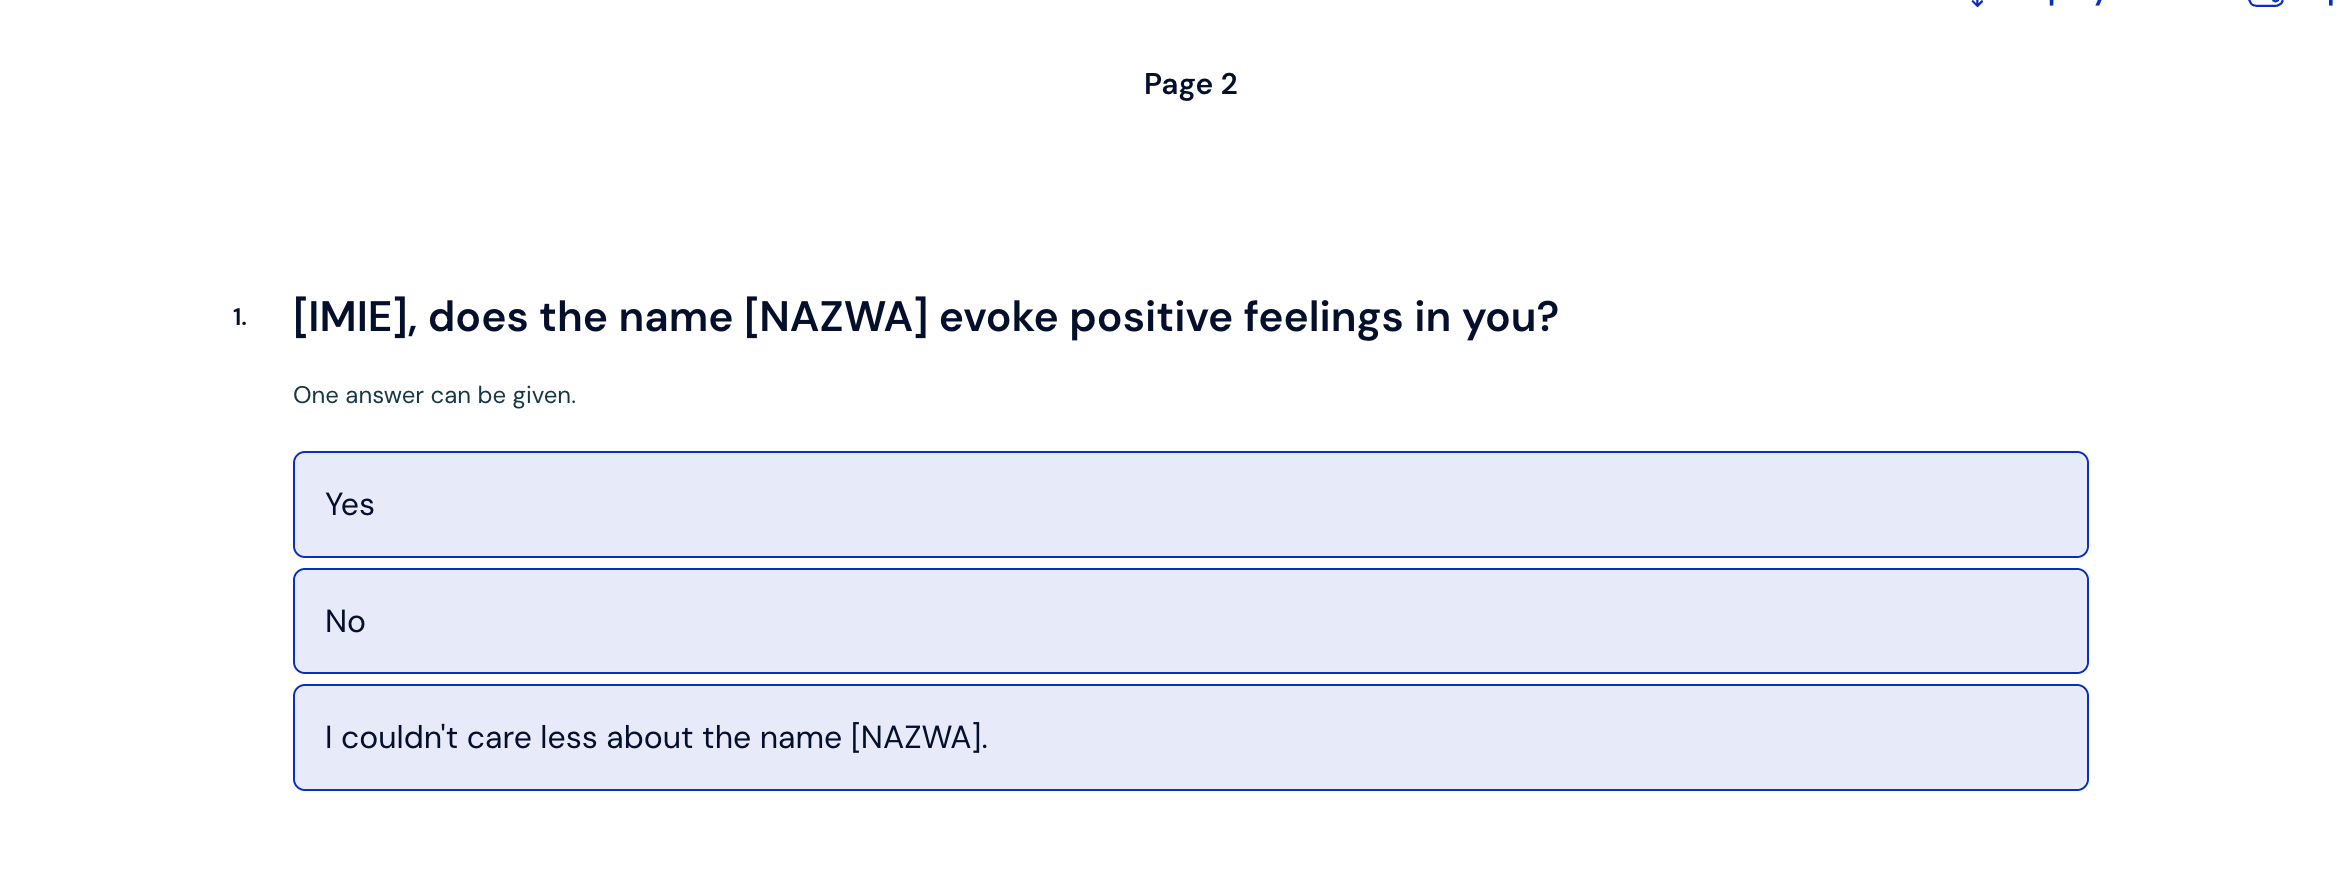
Just like with the invitation content, we can use special attribute tags in the questionnaire as well. Just enter the attribute name in square brackets in the appropriate place. E.g., [FIRST_NAME], does the name "[NAME]" evoke positive emotions in you?
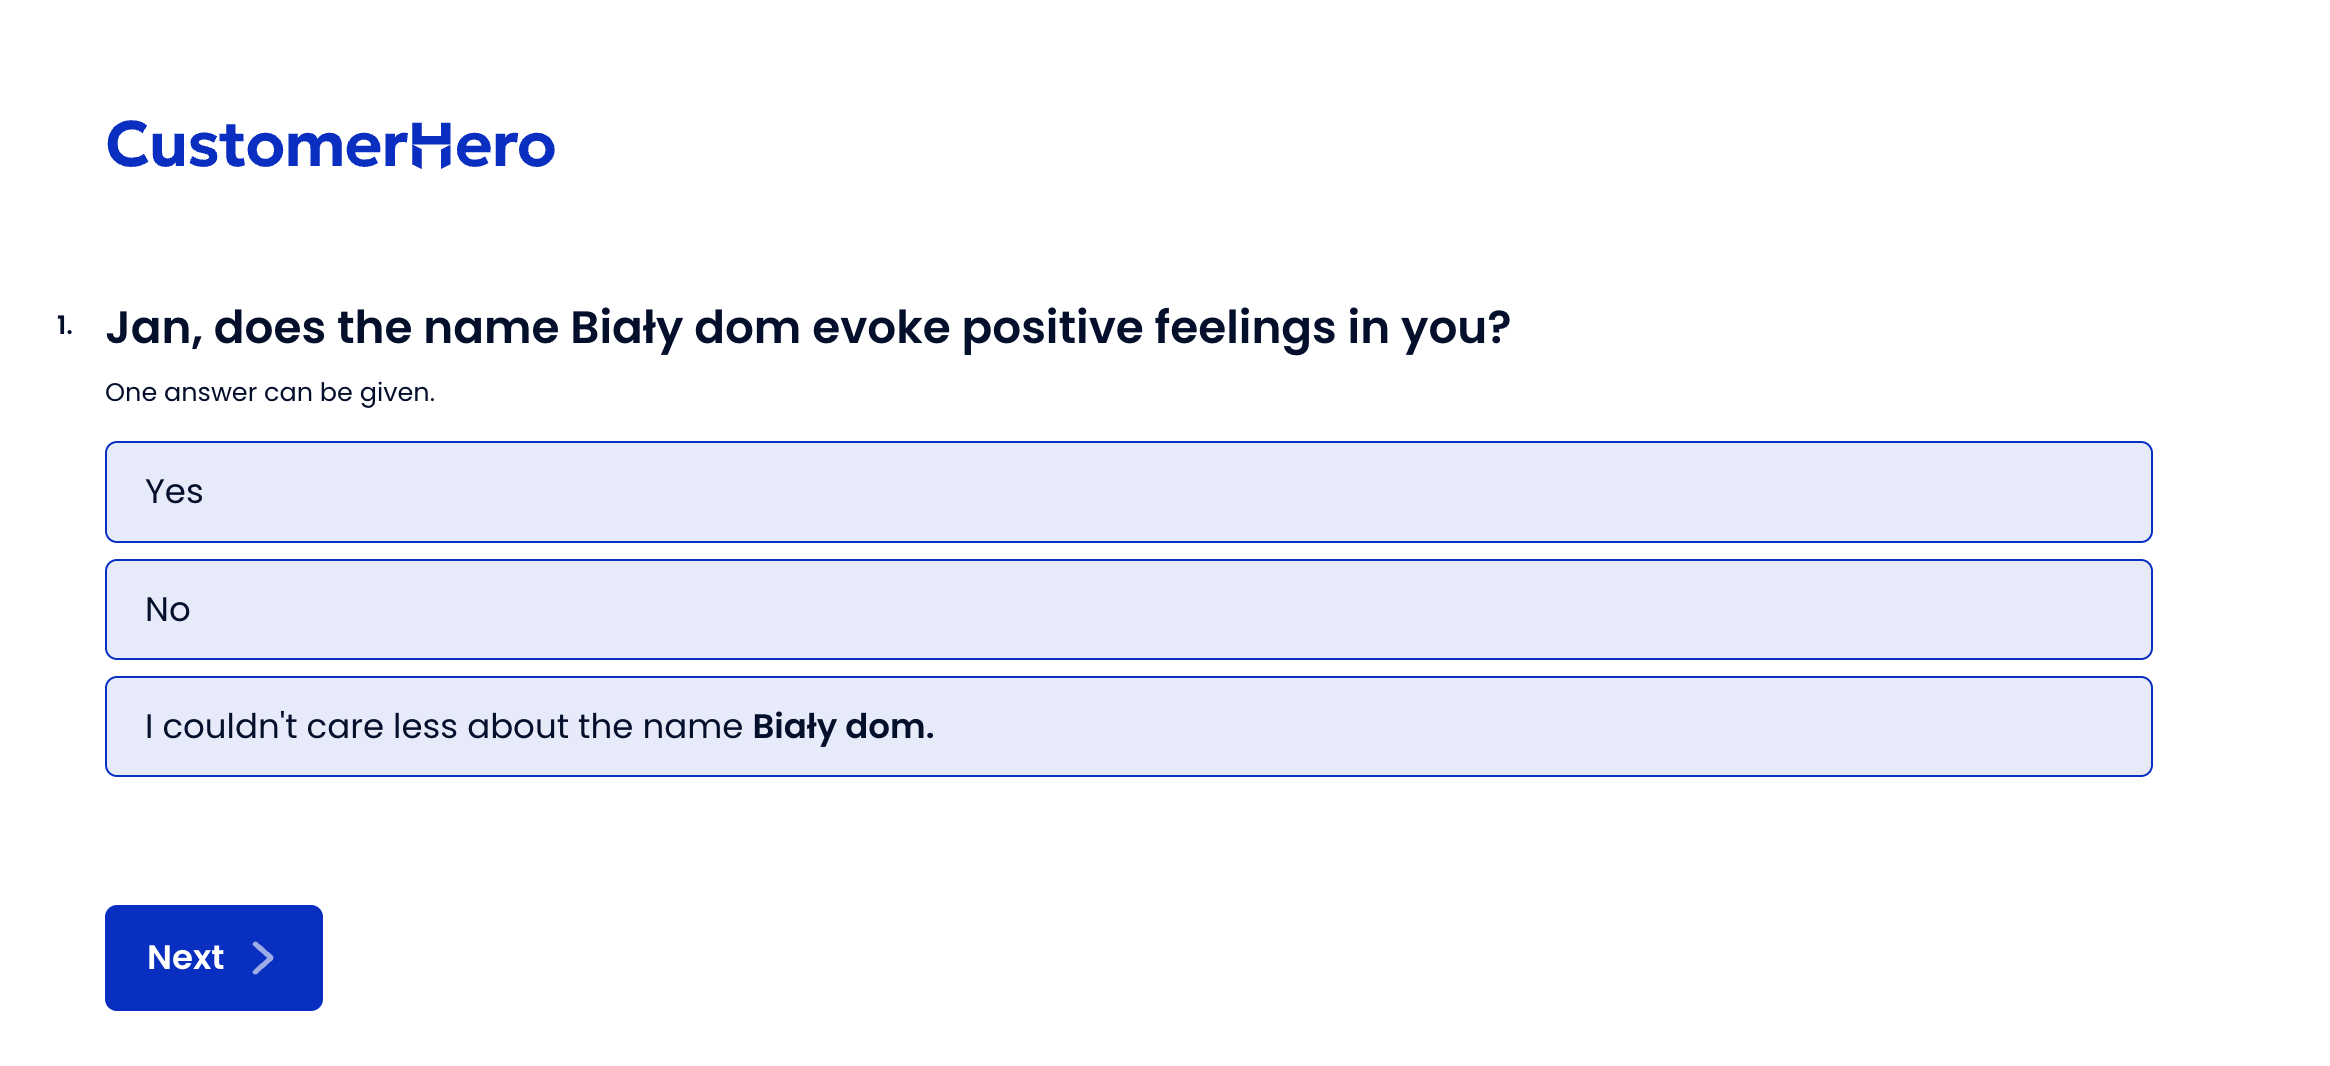
For our example John, with the example hotel name "White House", it will be shown in the following way.
What is worth remembering?
To create dynamic questionnaire content and an invitation to complete it, your survey must have access set via an individual link for the respondent – a token-secured survey.
Dynamic attributes will appear in your account if you have attributes on your contact list.
Special attribute tags:
do not contain diacritical marks,
are written in uppercase letters,
spaces are replaced with the _ character