
Identifying respondents with a token
Tokens, or access codes, can be used for two purposes:
when we want to link the completion with a specific respondent whose data we have,
when we want to make sure that each respondent fills out the survey only once.
The simplest example of the first application is a situation in which we have customers' email addresses and we send a request to fill out a satisfaction survey to this very email. After analyzing the completions, we can extract dissatisfied customers, link negative responses to emails, and take further steps to improve satisfaction. In addition, we can also categorize our respondents by adding extra information to the emails, such as branch or region (you can find more on this in the article on attributes).
Choosing survey accessibility via an individual link for each respondent gives us the certainty that the survey will be filled out only once by the same person.
The following article describes the configuration of tokens for the purpose of their later dispatch via email through our platform's mechanism. If you want to distribute tokens in another way (e.g., print or download an export for mail merge), we invite you to the article on token export.
How to configure a survey with a token?
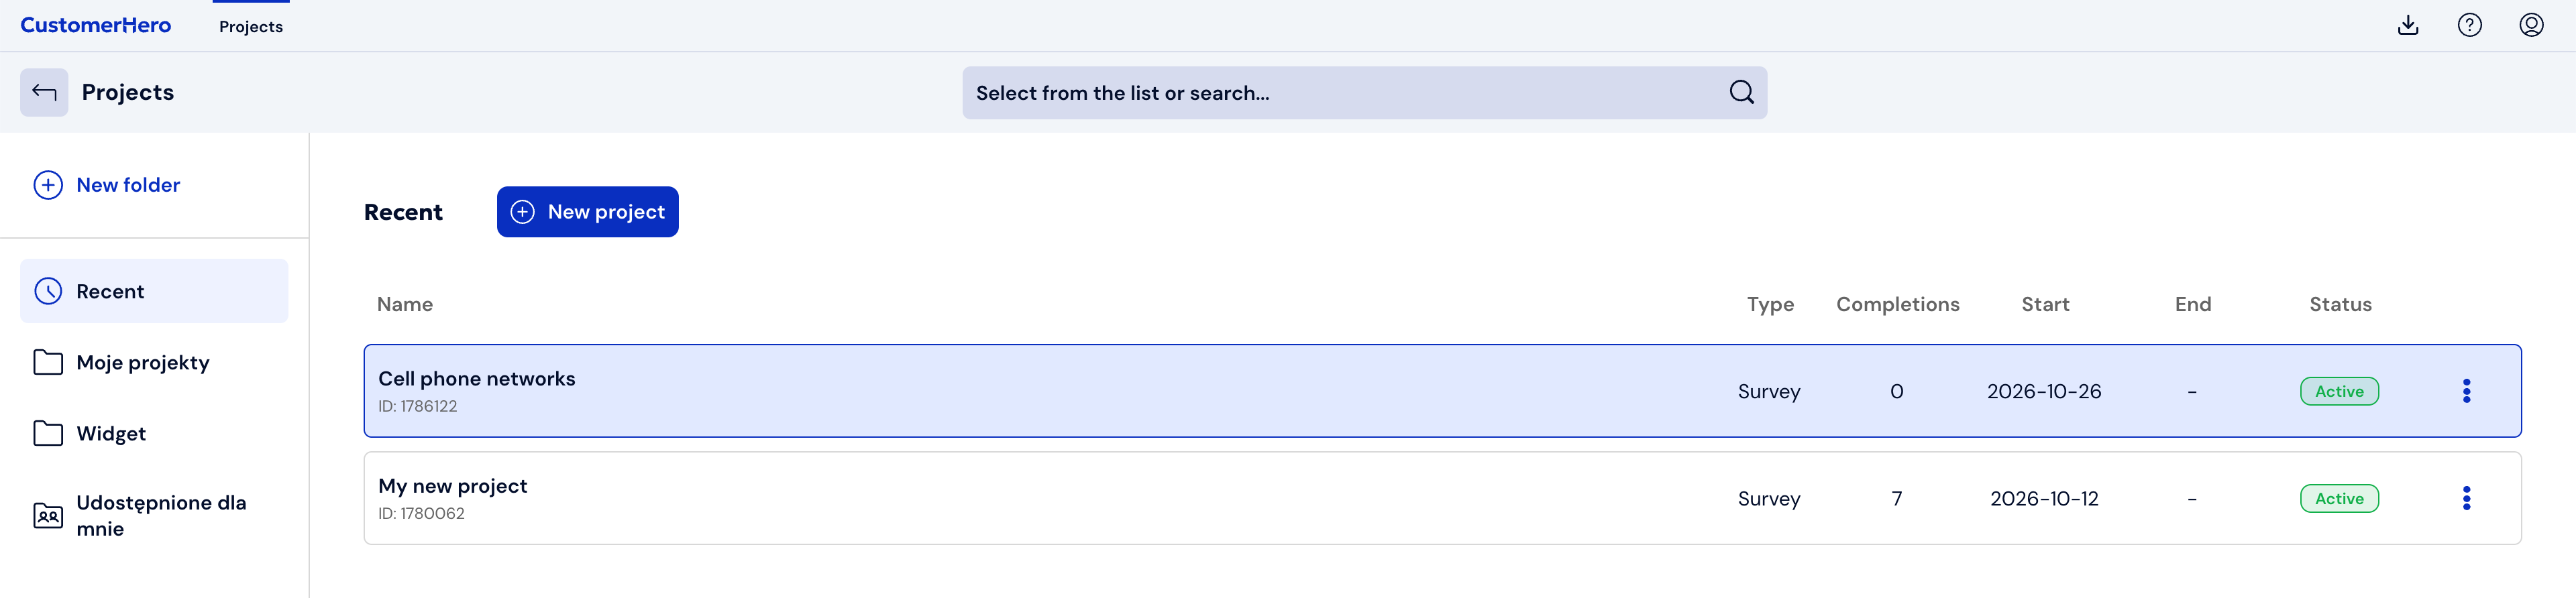
First, select the Projects tab, and then select the survey title:
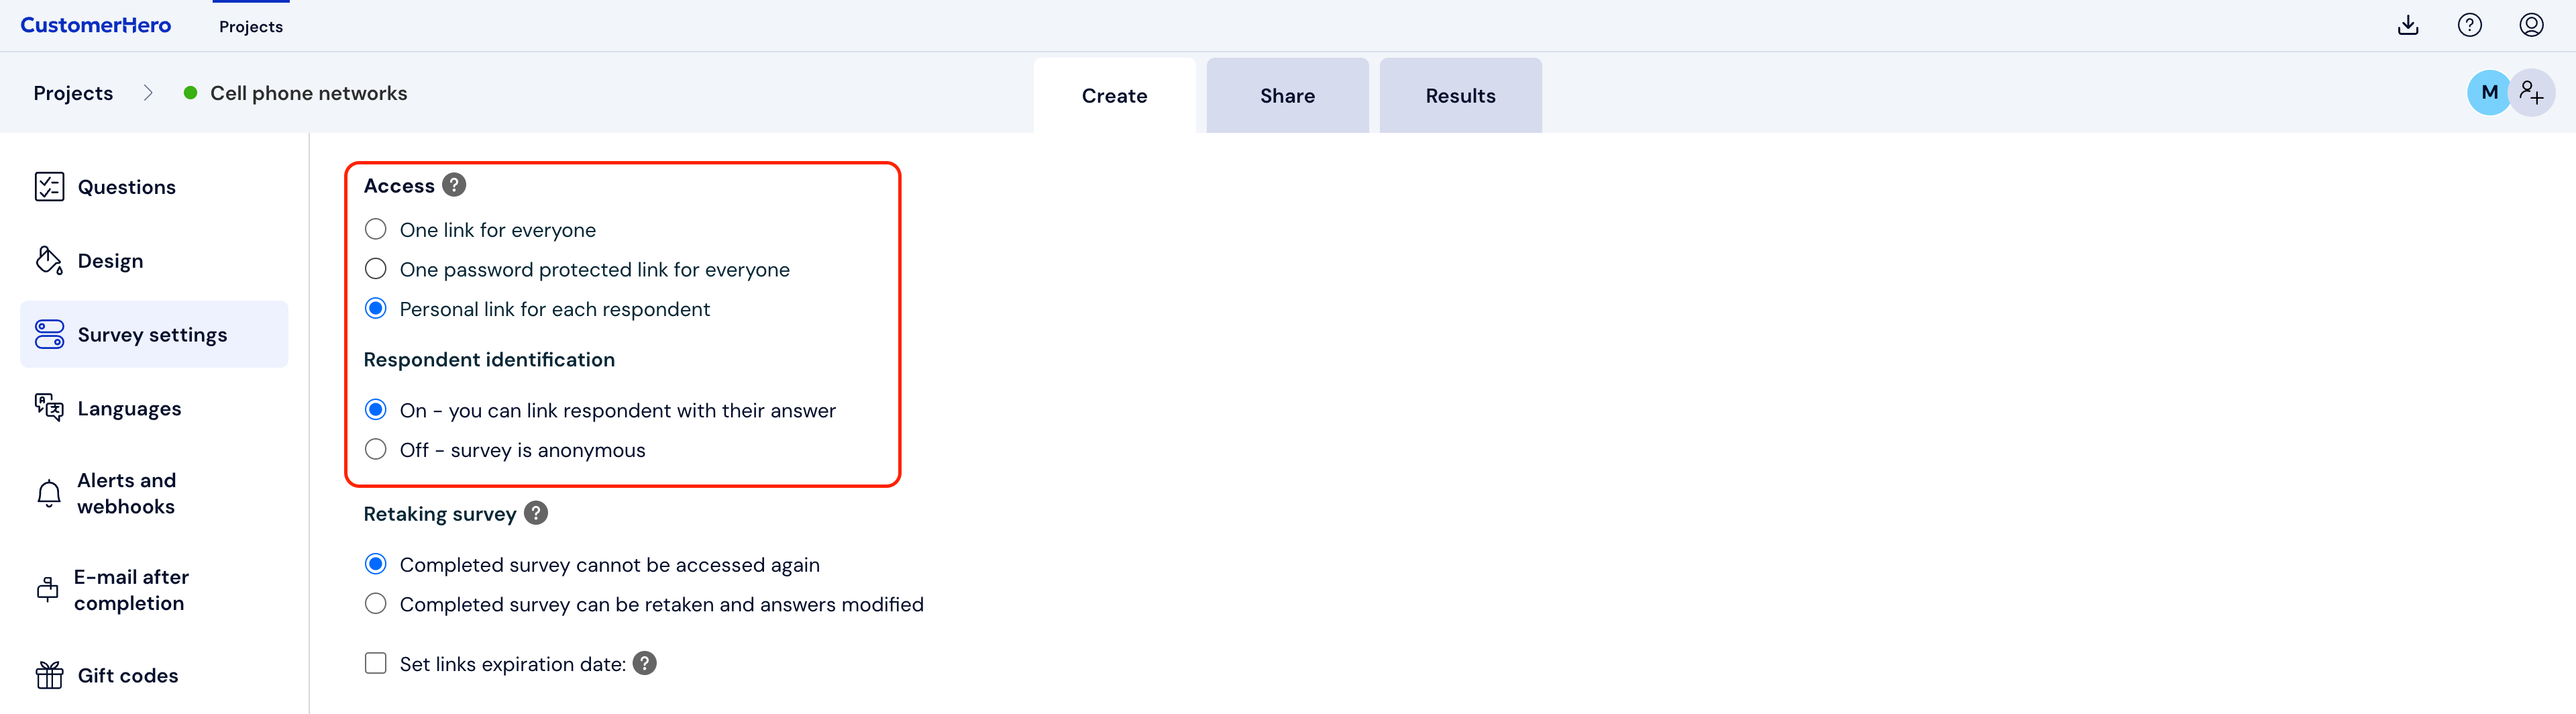
Next, go to the "CREATION" → "Survey settings" tab. In the "Access" menu, find the form field "Individual link for each respondent" and check it.
Select the "Respondent identification" option. If you want to be able to link the respondent with the questionnaire they completed, select "Enabled". If the survey is to remain anonymous, select "Disabled". Next, decide whether the individual link should be for single or multiple use. You will find more information on this later in the article.
Also specify the validity time of the links. This option allows you to determine how long the generated survey links will remain active. The validity time of each individual invitation is counted from the moment it is sent (when using our system) or from the date the tokens are generated (with self-distribution).
Example 1 (sending from the system): If you set the link validity to 1 day and the invitation is sent at 4:00 PM, the respondent will have access to the survey until 4:00 PM the next day. At 4:01 PM, the link will automatically expire.
Example 2 (self-distribution): If you use external tools to send invitations and generate links at 4:00 PM, with the validity set to 1 day, access to the study will be blocked exactly at 4:01 PM the following day.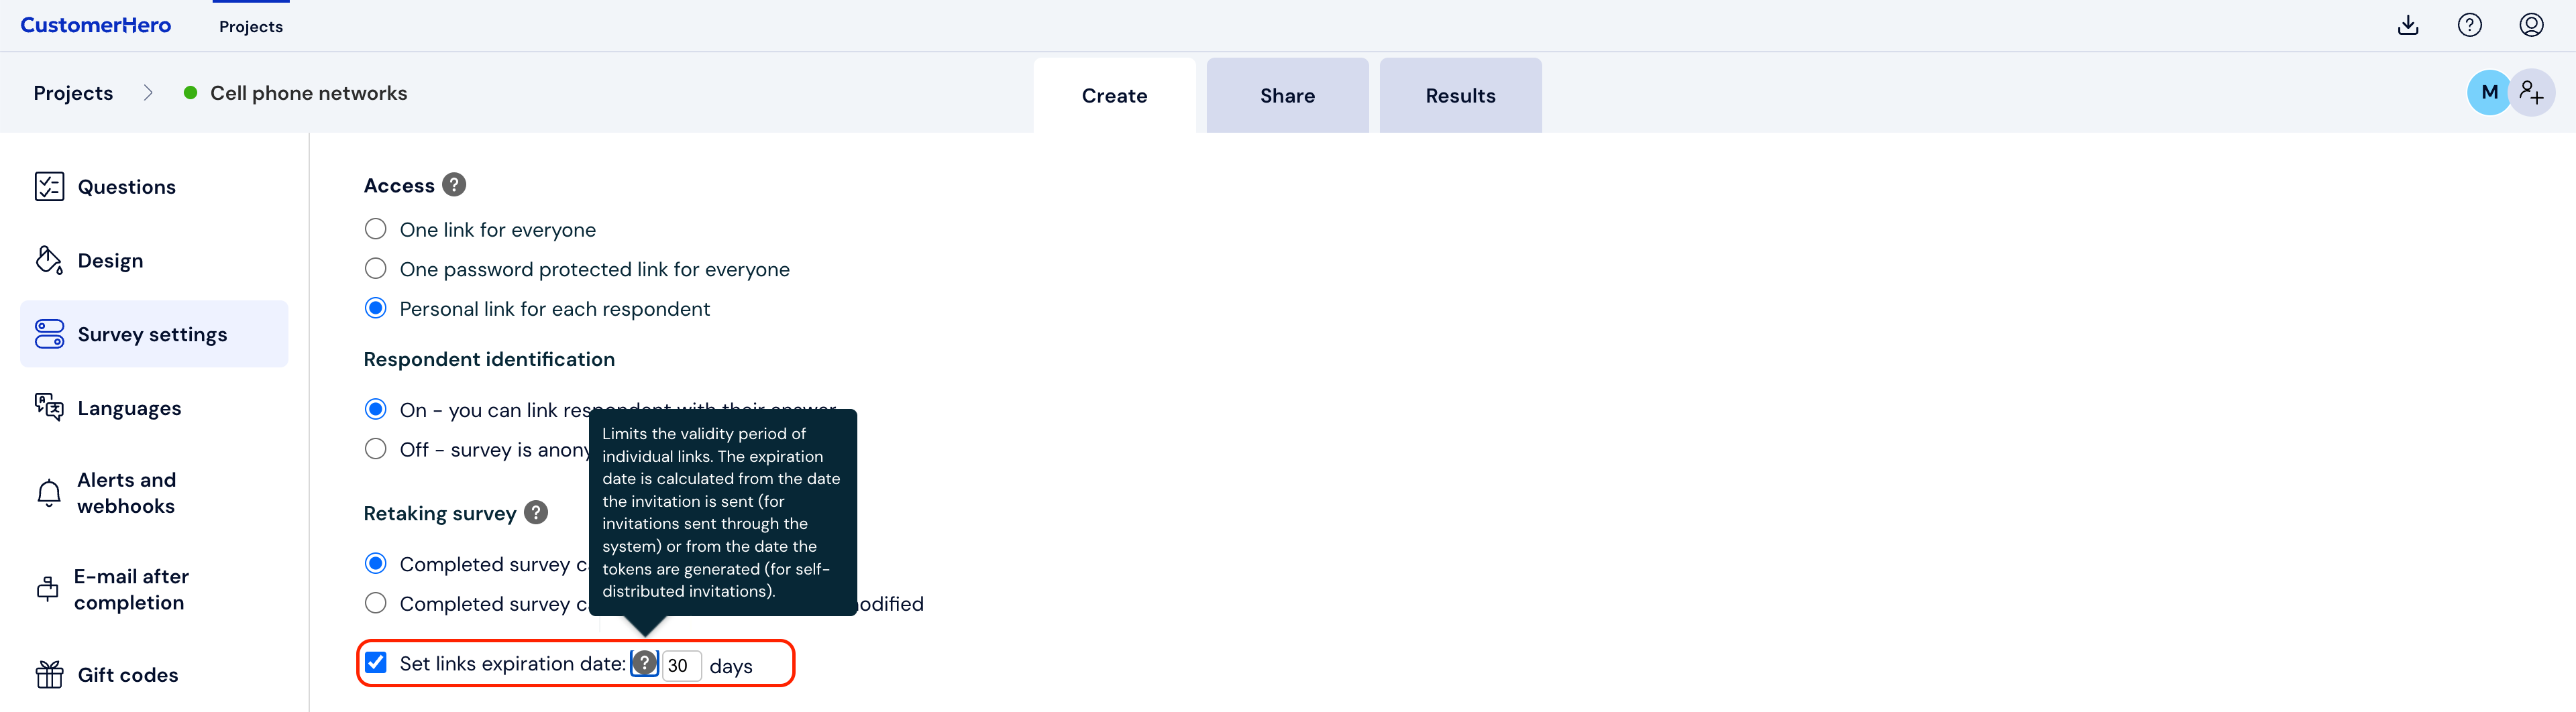
To confirm the changes, at the very bottom of the Survey settings menu, click the Save button.
When the survey settings are properly configured, go to the Collection tab and select the Send to email option.
Next, choose how the contacts are to be added by you
a) Import from file
b) Enter manually
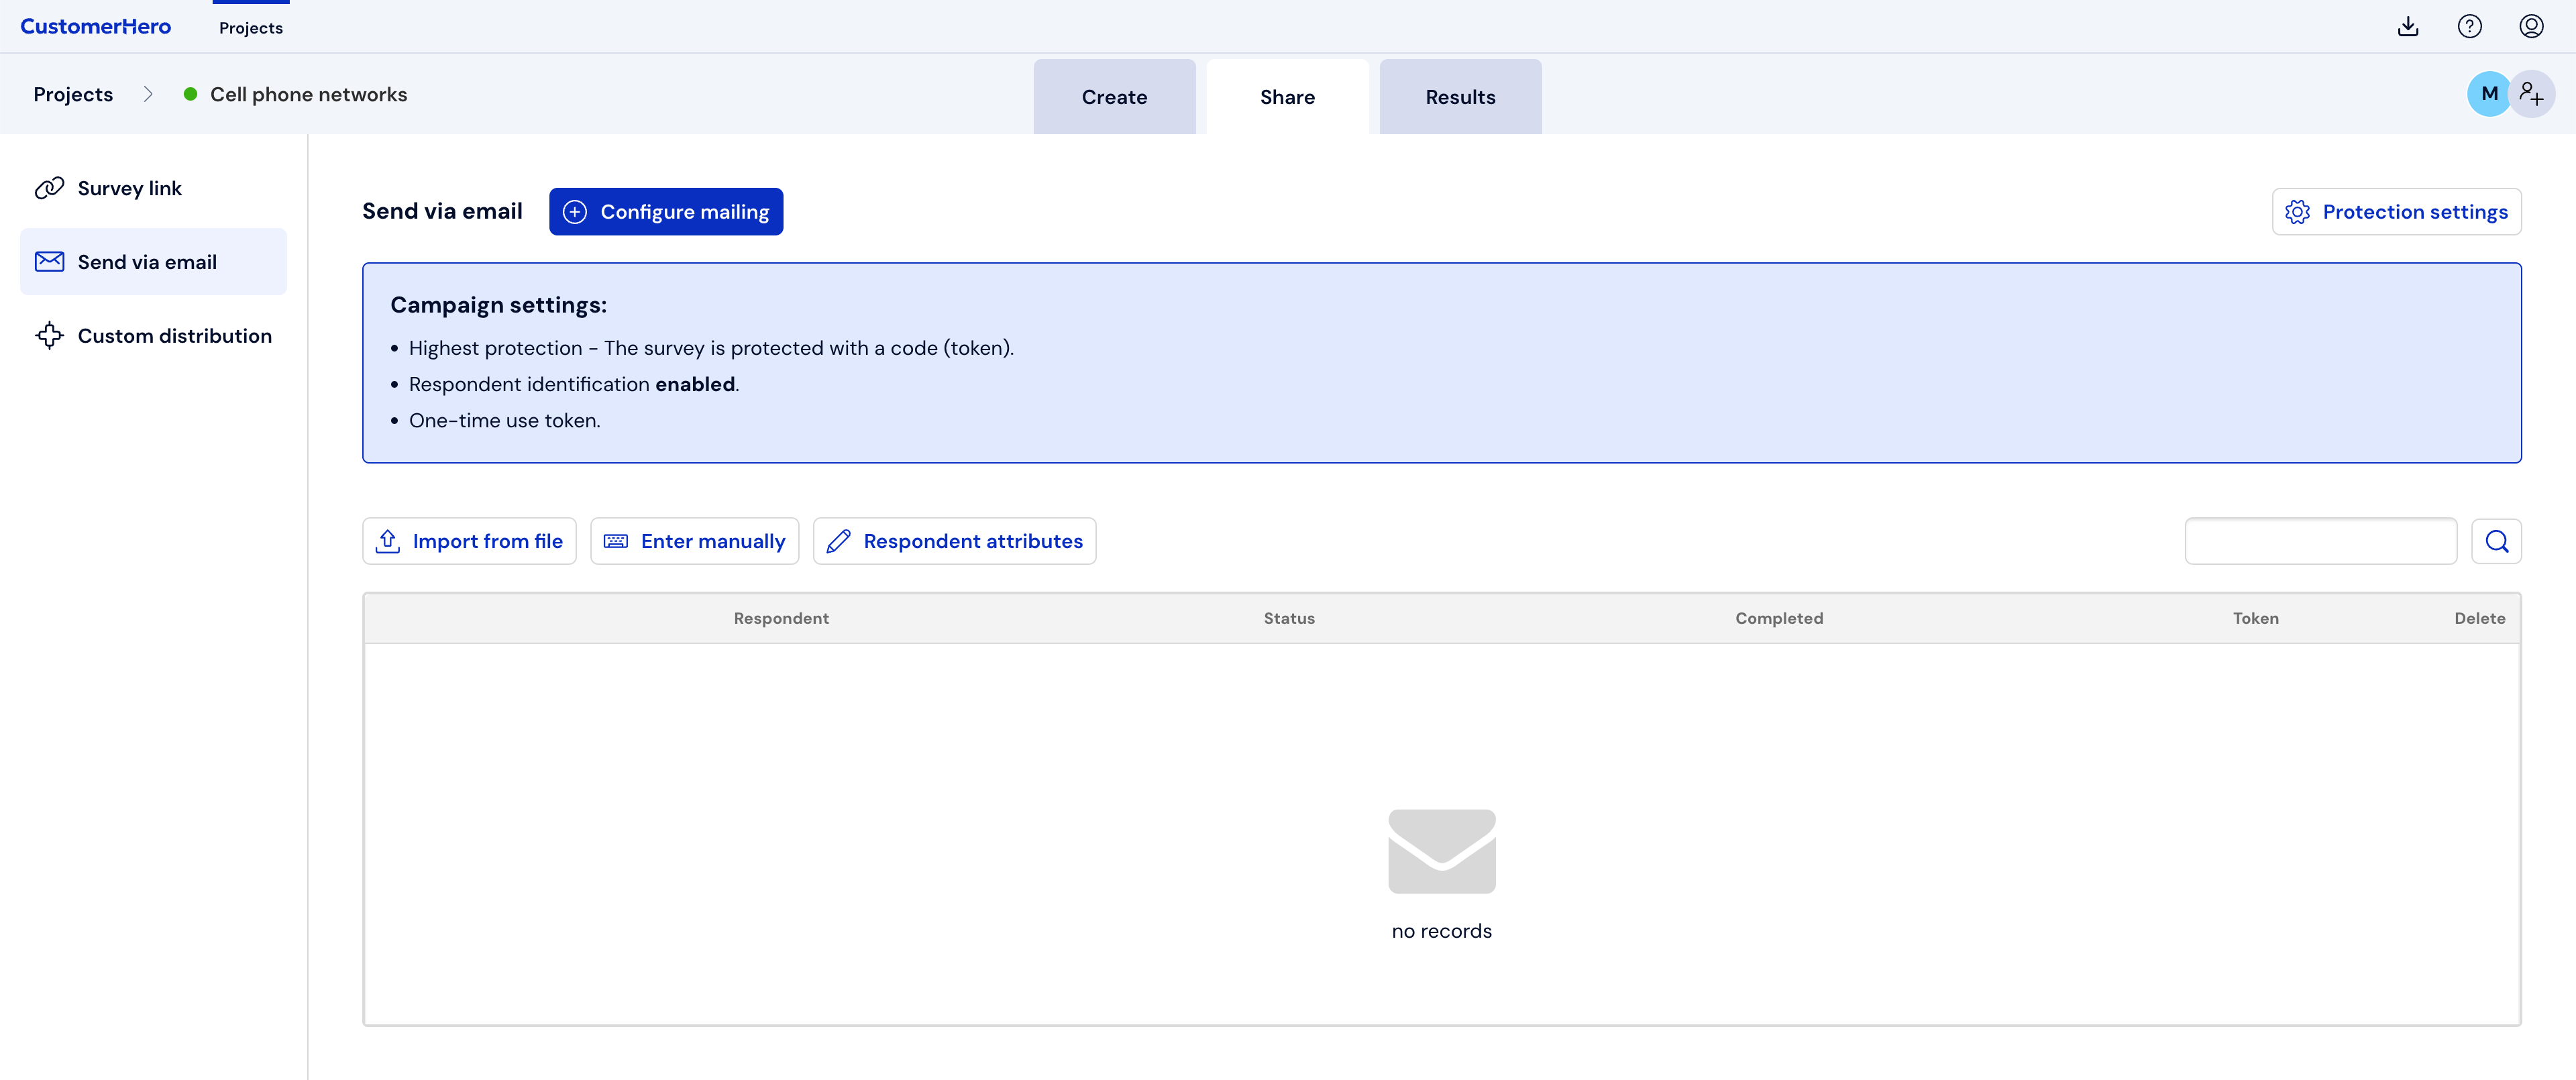
Import from file
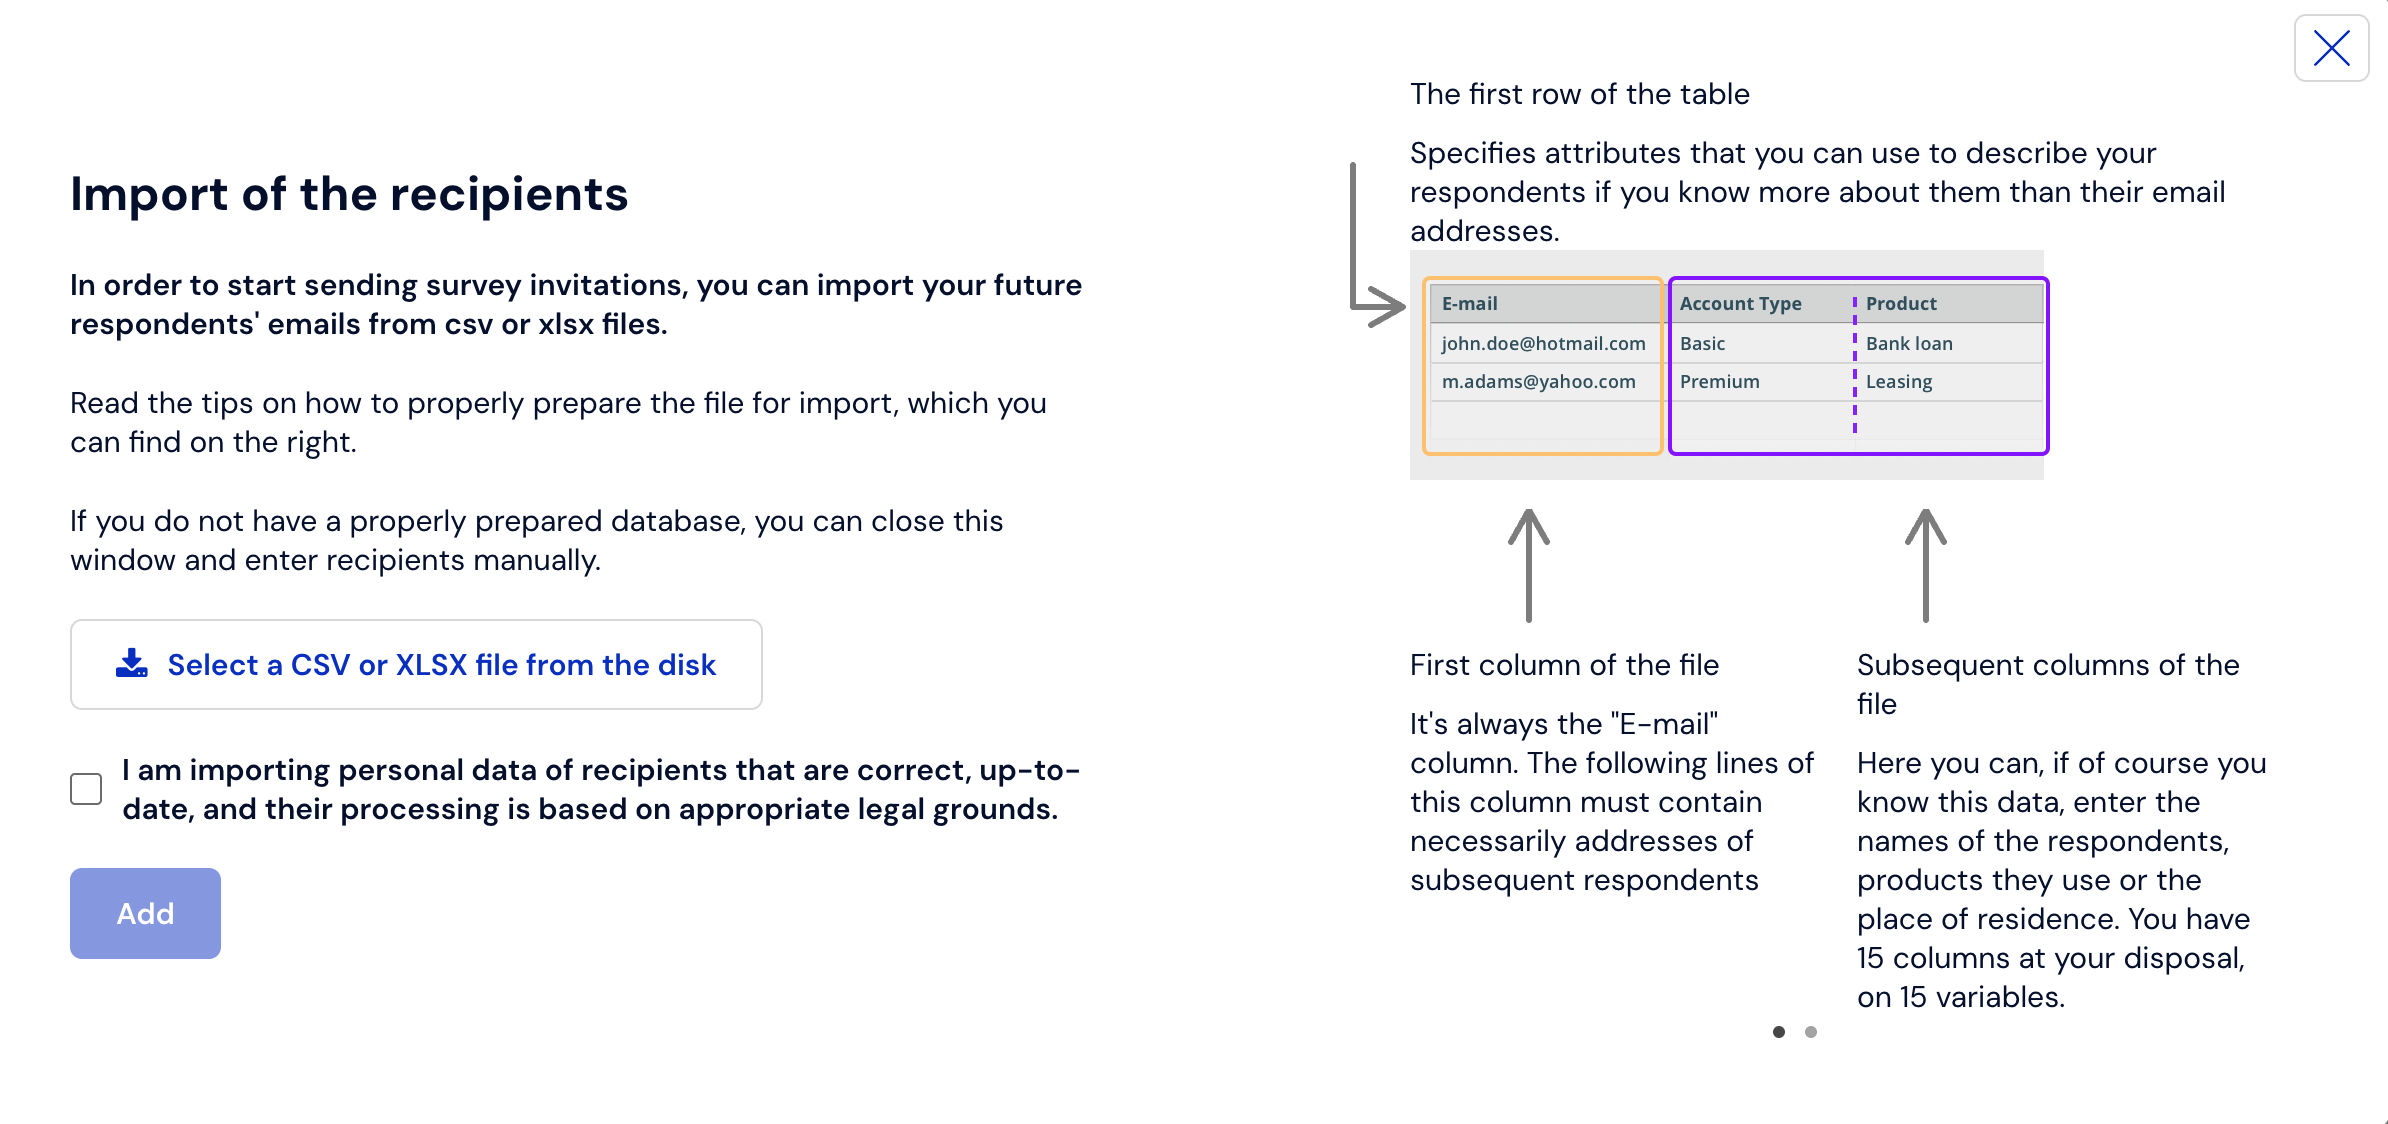
When choosing the "Import from file" option, a window with instructions on how to prepare the file will appear.
If you only have email addresses in the file, put them in the first column. If your contacts are also described by attributes, put them in the following columns, as in the presented example.
Thanks to this solution, you can also add your own token for each respondent from the contact list, which will be used automatically instead of the system generating a token.
All you need to do is create a Token column in the file you are importing and assign a valid token (unique, alphanumeric, consisting of 6 characters) to each email address, and it will be assigned to the given respondent in the system.After preparing the file, we select the "Choose CSV or XLSX file from disk" button
After performing all the above steps correctly, select the "Add" option. Remember that the file import time depends on its size and the number of contacts.
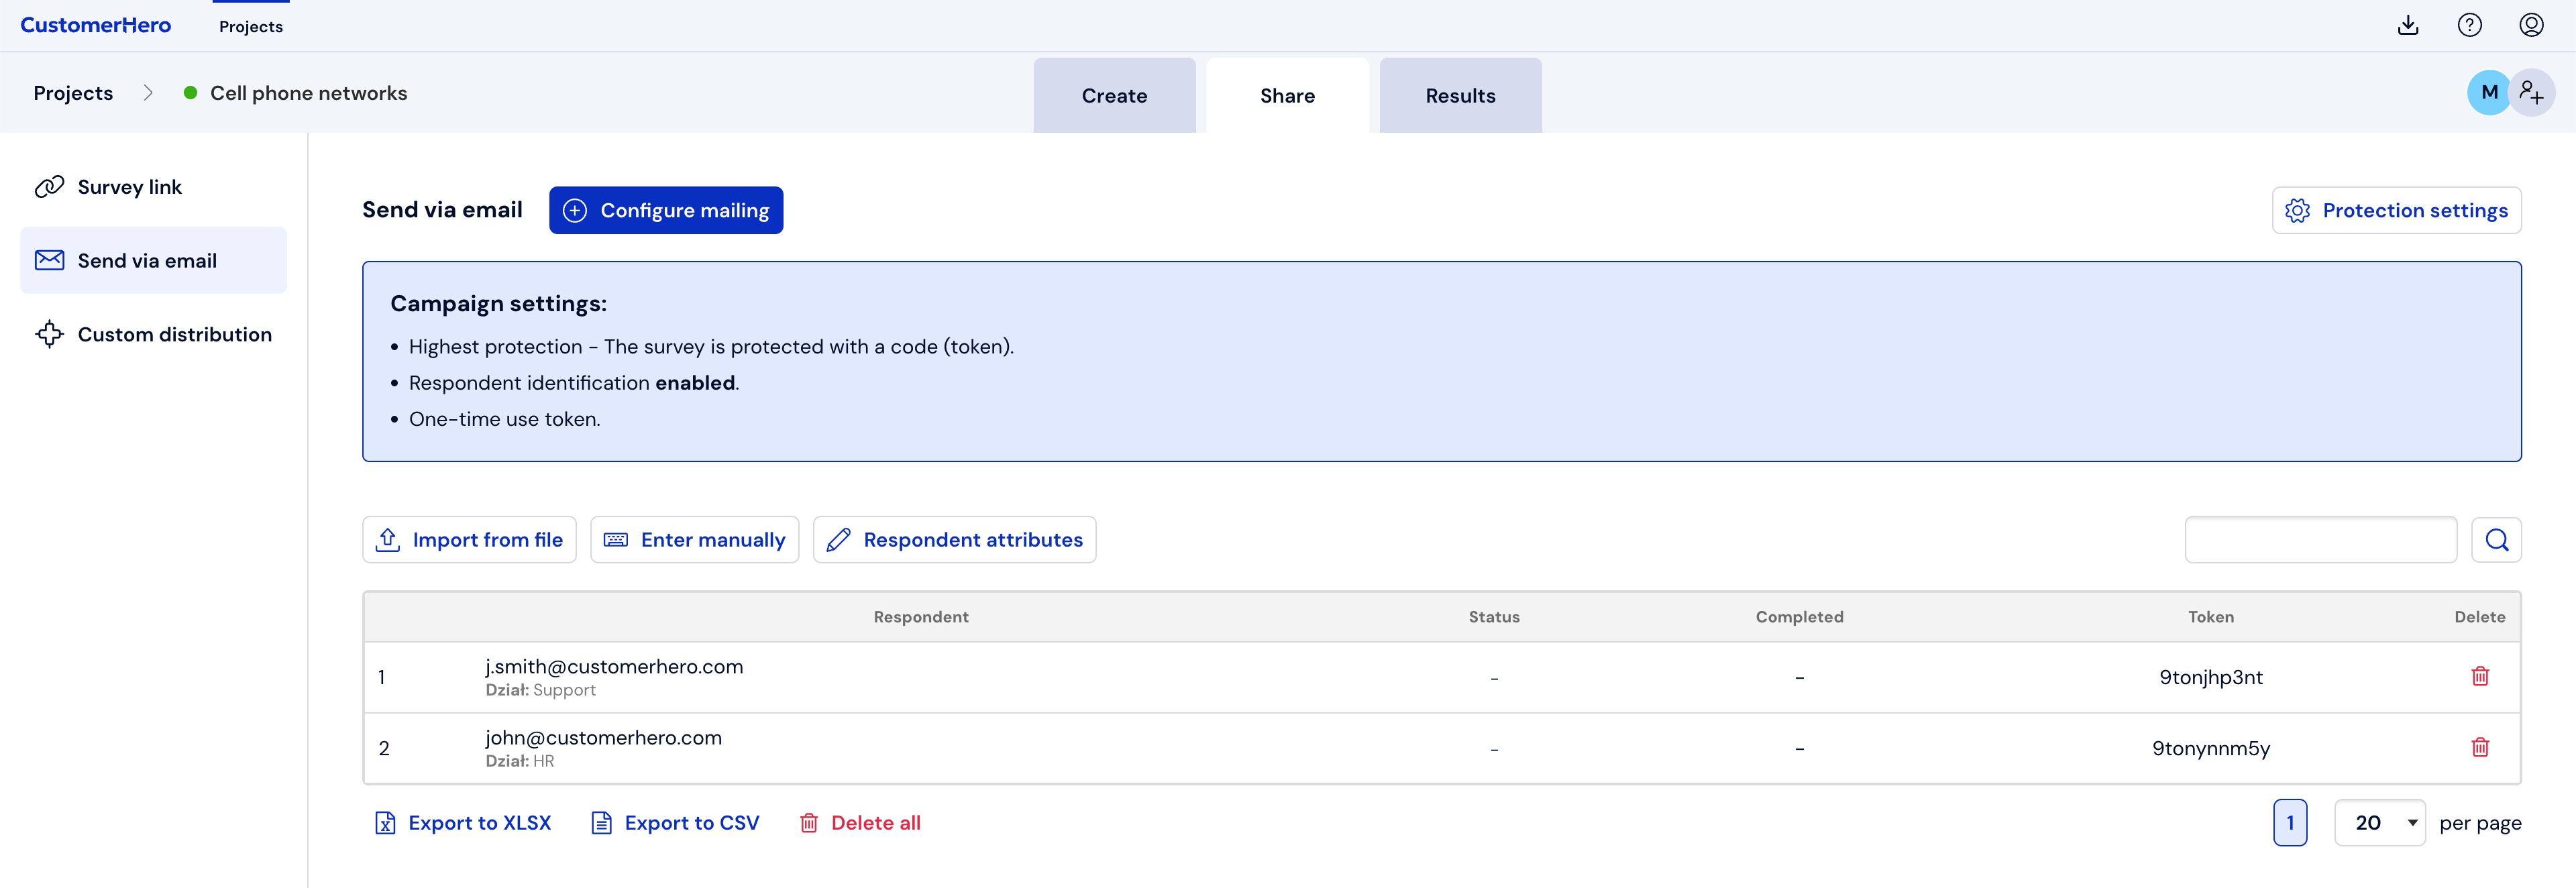
The imported contact file looks like the example below.
On the left are the email addresses of the respondents, while on the right are the generated individual tokens that will be sent to the respondent in the survey URL.
We can delete a single respondent along with their token by selecting the trash icon next to the generated code.
We can also delete all respondents, along with their tokens, by selecting the "Delete all" button located below the list of all contacts
Enter manually
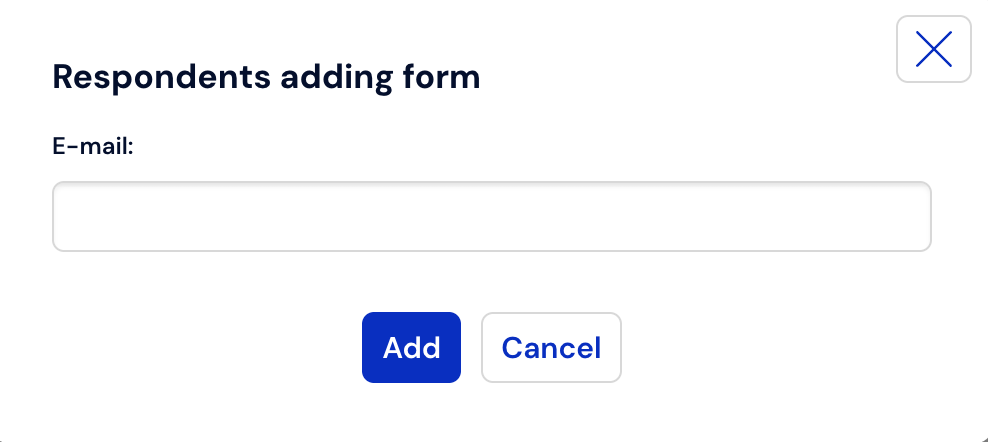
Clicking on the "Enter manually" option will bring up a window in which you must enter the email address in the empty field.
After entering the respondent's email address, we can add another address using the "Add" option, or finish adding them by clicking the "Finish" option.
If you previously imported a contact file or created a contact list with attributes, also when adding manually, it will be possible to provide all data corresponding to the created attributes.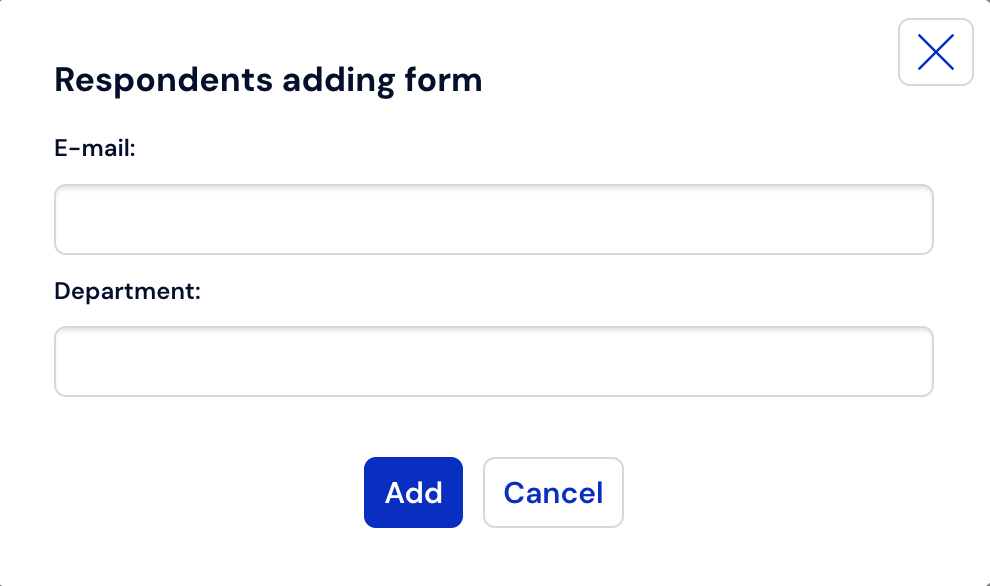
In the next stages, you will only have to configure the dispatch of invitations. You will learn how to do this here
What is worth remembering?
A survey with a single-use code allows access to the questionnaire only to authorized persons,
The code allows the respondent to open the survey only once (see how to allow respondents to postpone the survey),
We can set an individual link for each respondent only when the survey has not been used before (provided no results have been collected using it previously).