
Integration with Atomstore
Do you run an online store and would you like to know what moods prevail among your customers after a purchase? Thanks to the AtomStore and CustomerHero application integration statement, you have such a possibility! To do this, familiarize yourself with the rest of the article.
If you already have an online store on https://www.atomstore.pl/ go to log in to your account:
Select the SETTINGS tab:
Next go to STORE CONFIGURATION.
Then select the MARKETING option from the list:
Find our platform on the list and select TURN ON.
Now, to be able to configure the connection of Atomstore with our service, select the EXPAND button and fill in the following fields.
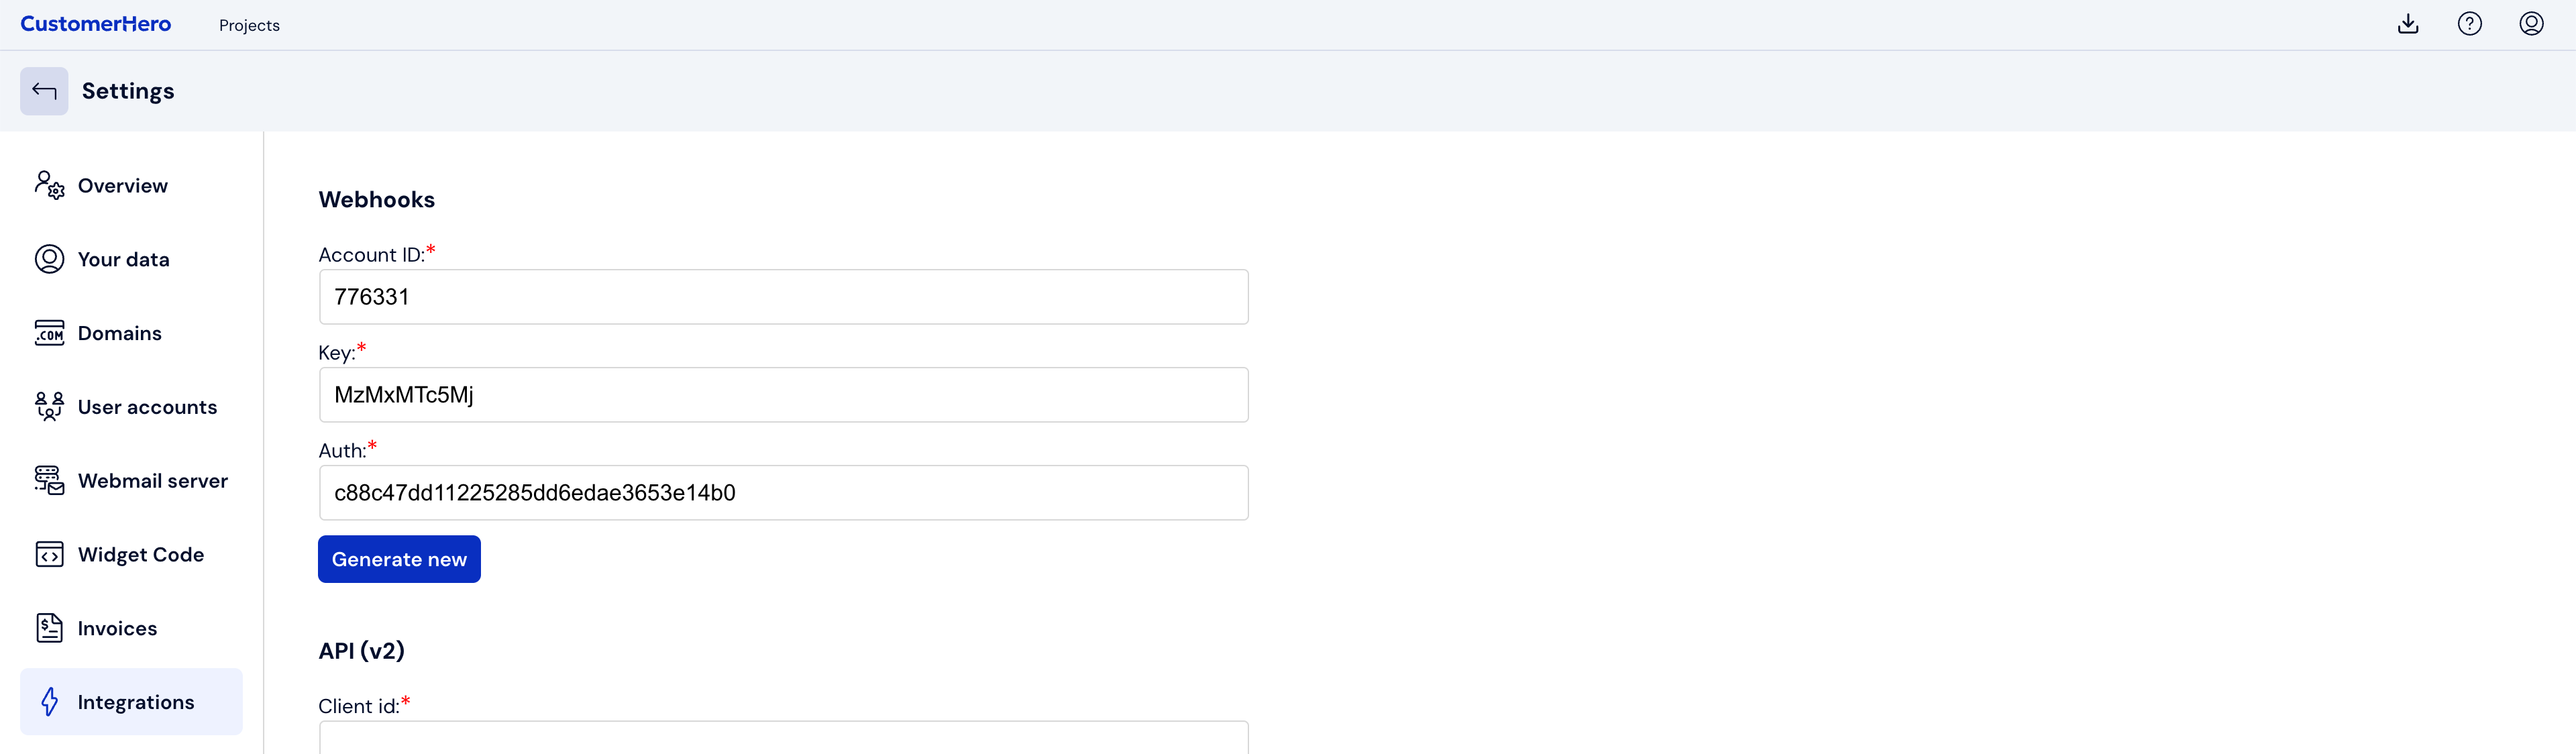
CustomerHero account ID, Webhook key and Webhook authorization
These are three important pieces of data that you can obtain by logging into your account at Customerhero https://app.customerhero.com/login.
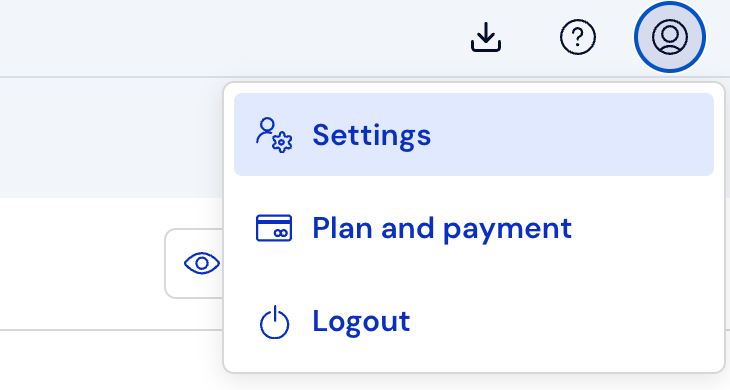
After logging in, go to the ACCOUNT --> Settings --> Integrations tab.
Here you will find data that, by copying, you can add to the Atomstore panel.
Send invitations after assigning a status to the order
In this step, you should expand the list from which we have the opportunity to choose the appropriate status that will trigger the email sending of the invitation from CustomerHero to our customer.
Delay
If we do not want the invitation message to be sent right after the status change, we can add any numerical value (in minutes) that will delay our message distribution.
Survey ID
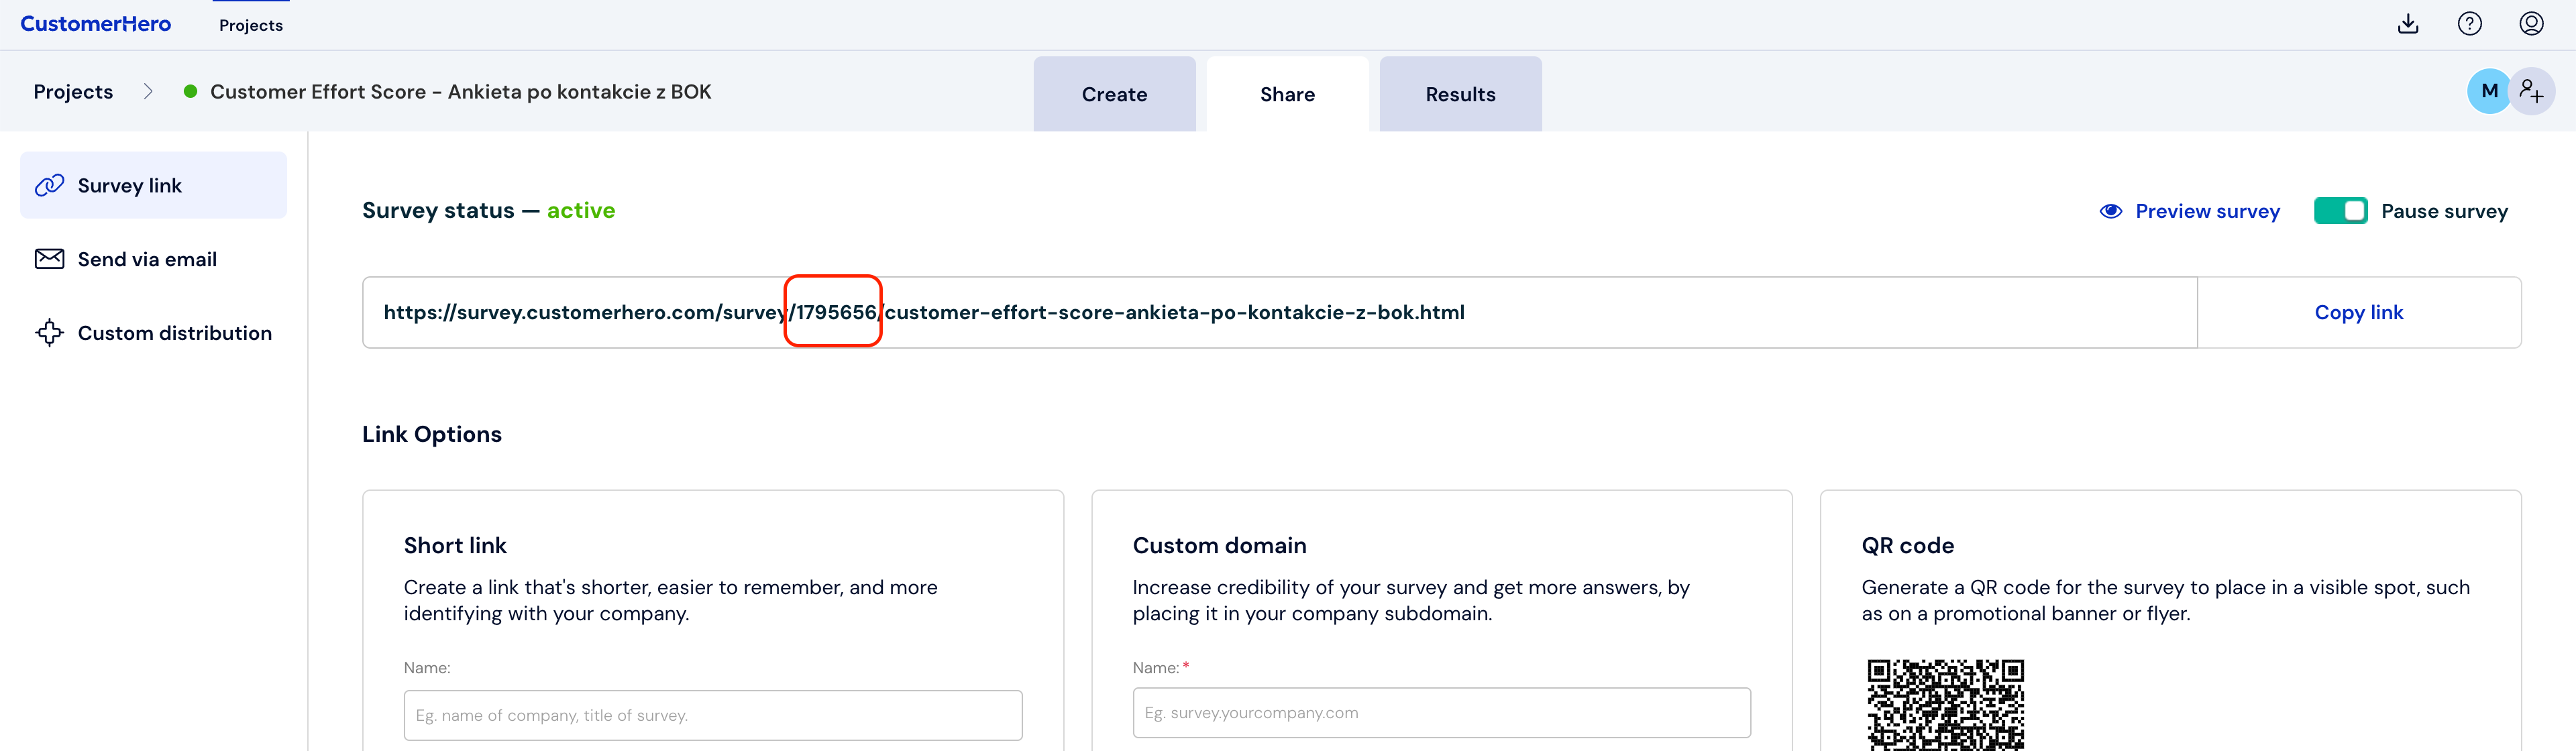
To pass data for the integration of CustomerHero with Atomstore, it will be necessary to indicate the survey that will be sent to respondents. Its ID will be needed for this purpose. To get it, go to the COLLECTION --> Link to survey tab, and then copy the numbers that are in the link to the survey. You can also find the survey id under the survey title in the PROJECTS tab.
Template ID
The last step to correctly configure CustomerHero with Atomstore is to provide the invitation template ID. To get the ID, go to the COLLECTION tab and select the SEND TO E-MAIL option.
Then we select the ENTER MANUALLY button. If you already have respondents added, skip this step.
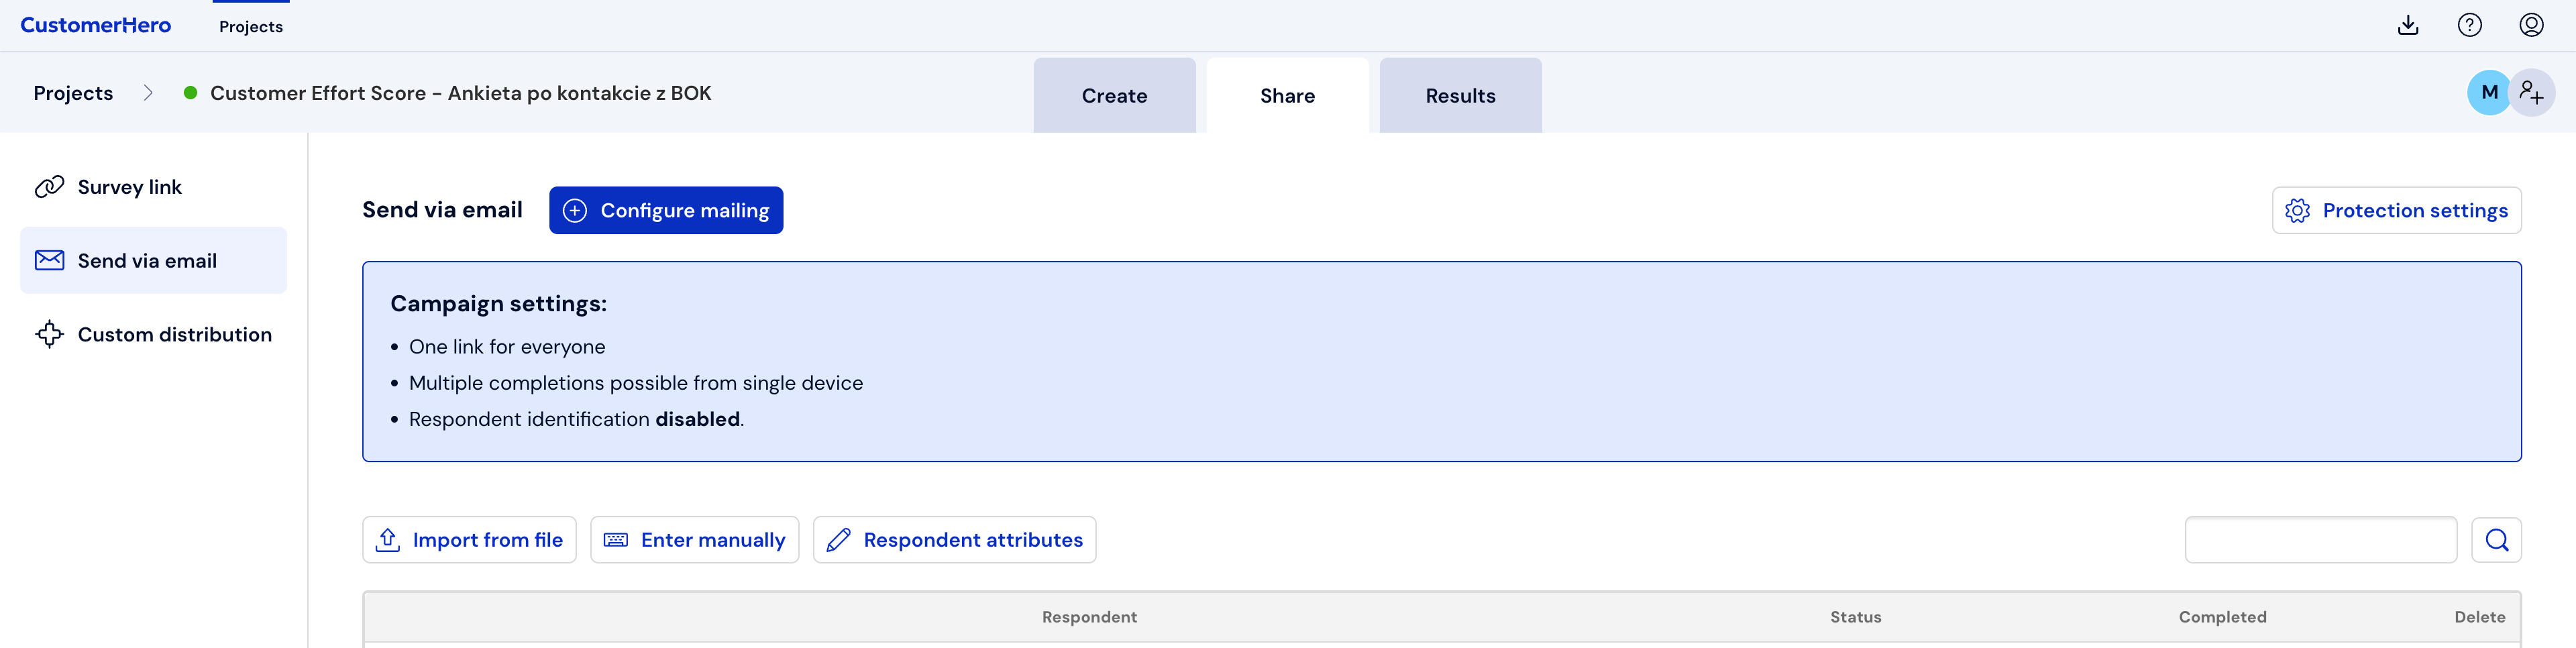
After adding the respondent, we select the CONFIGURE SENDING option, which is located at the top of the screen.
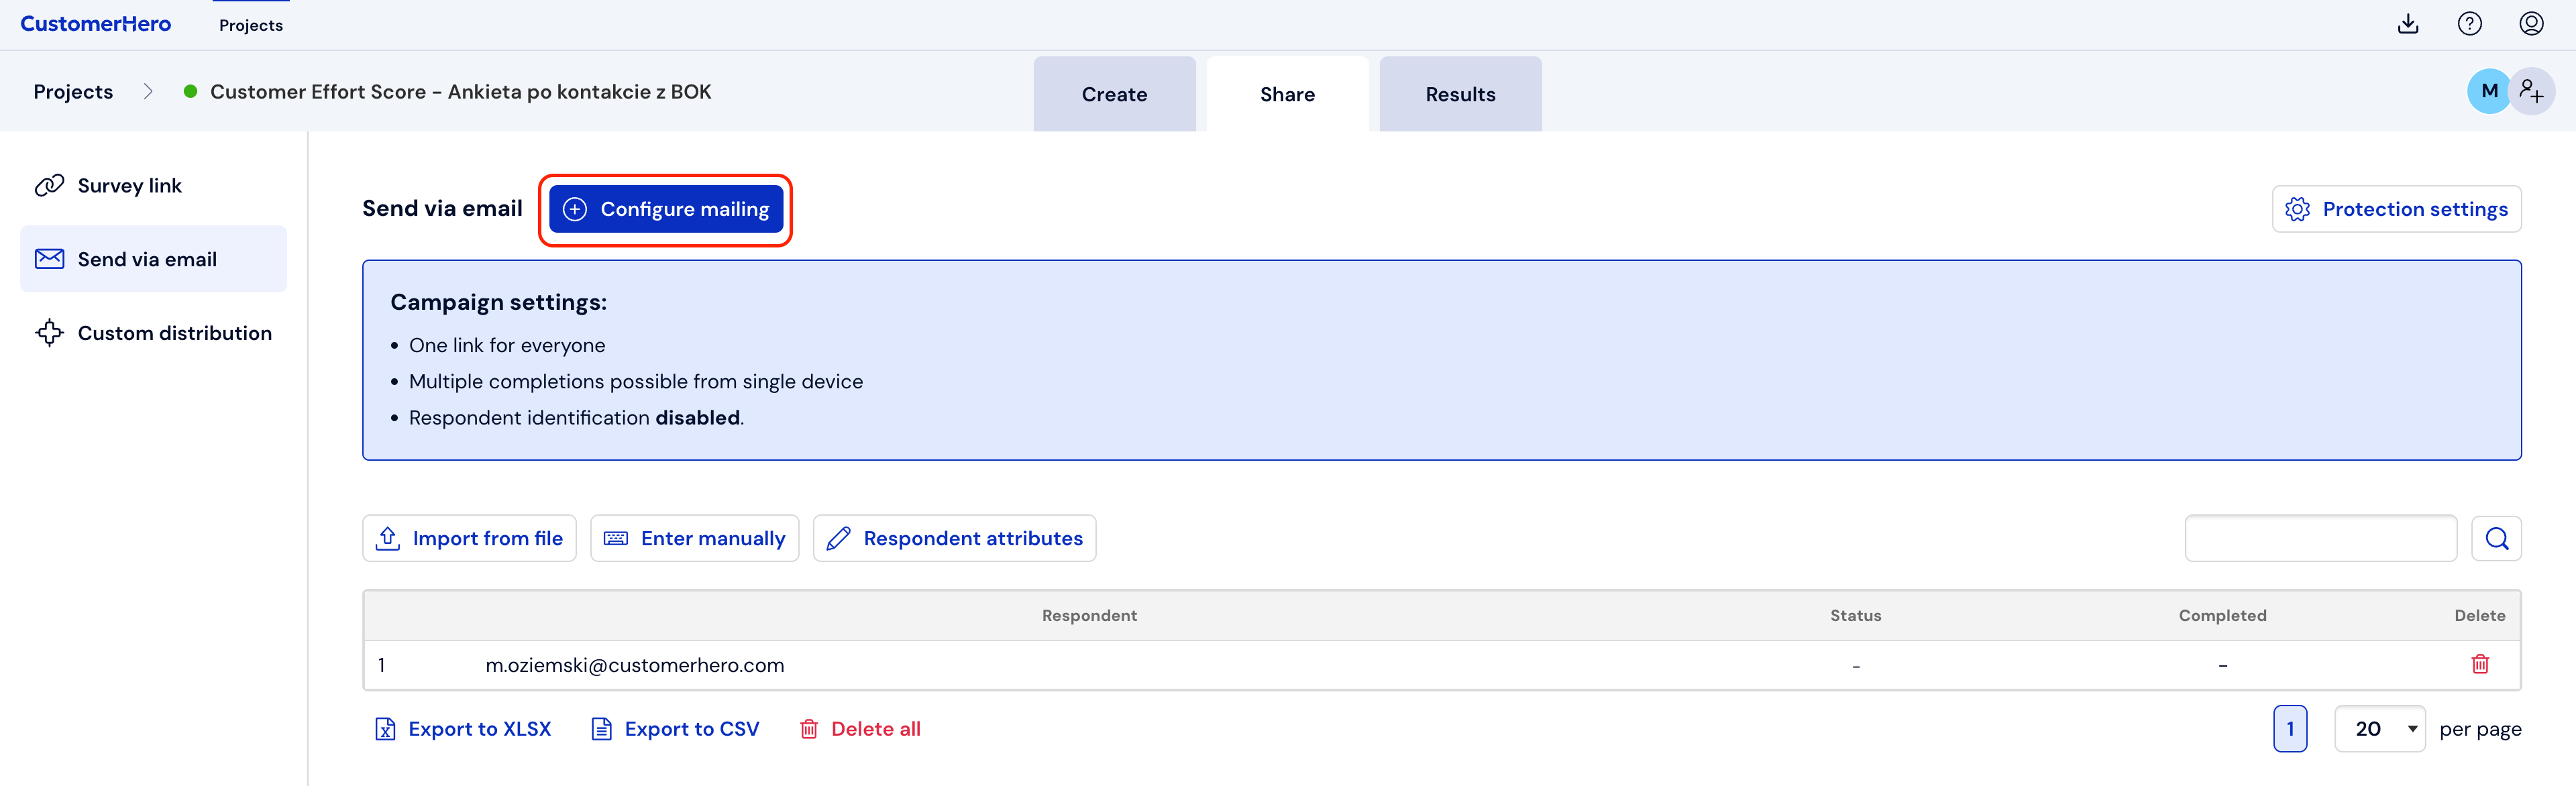
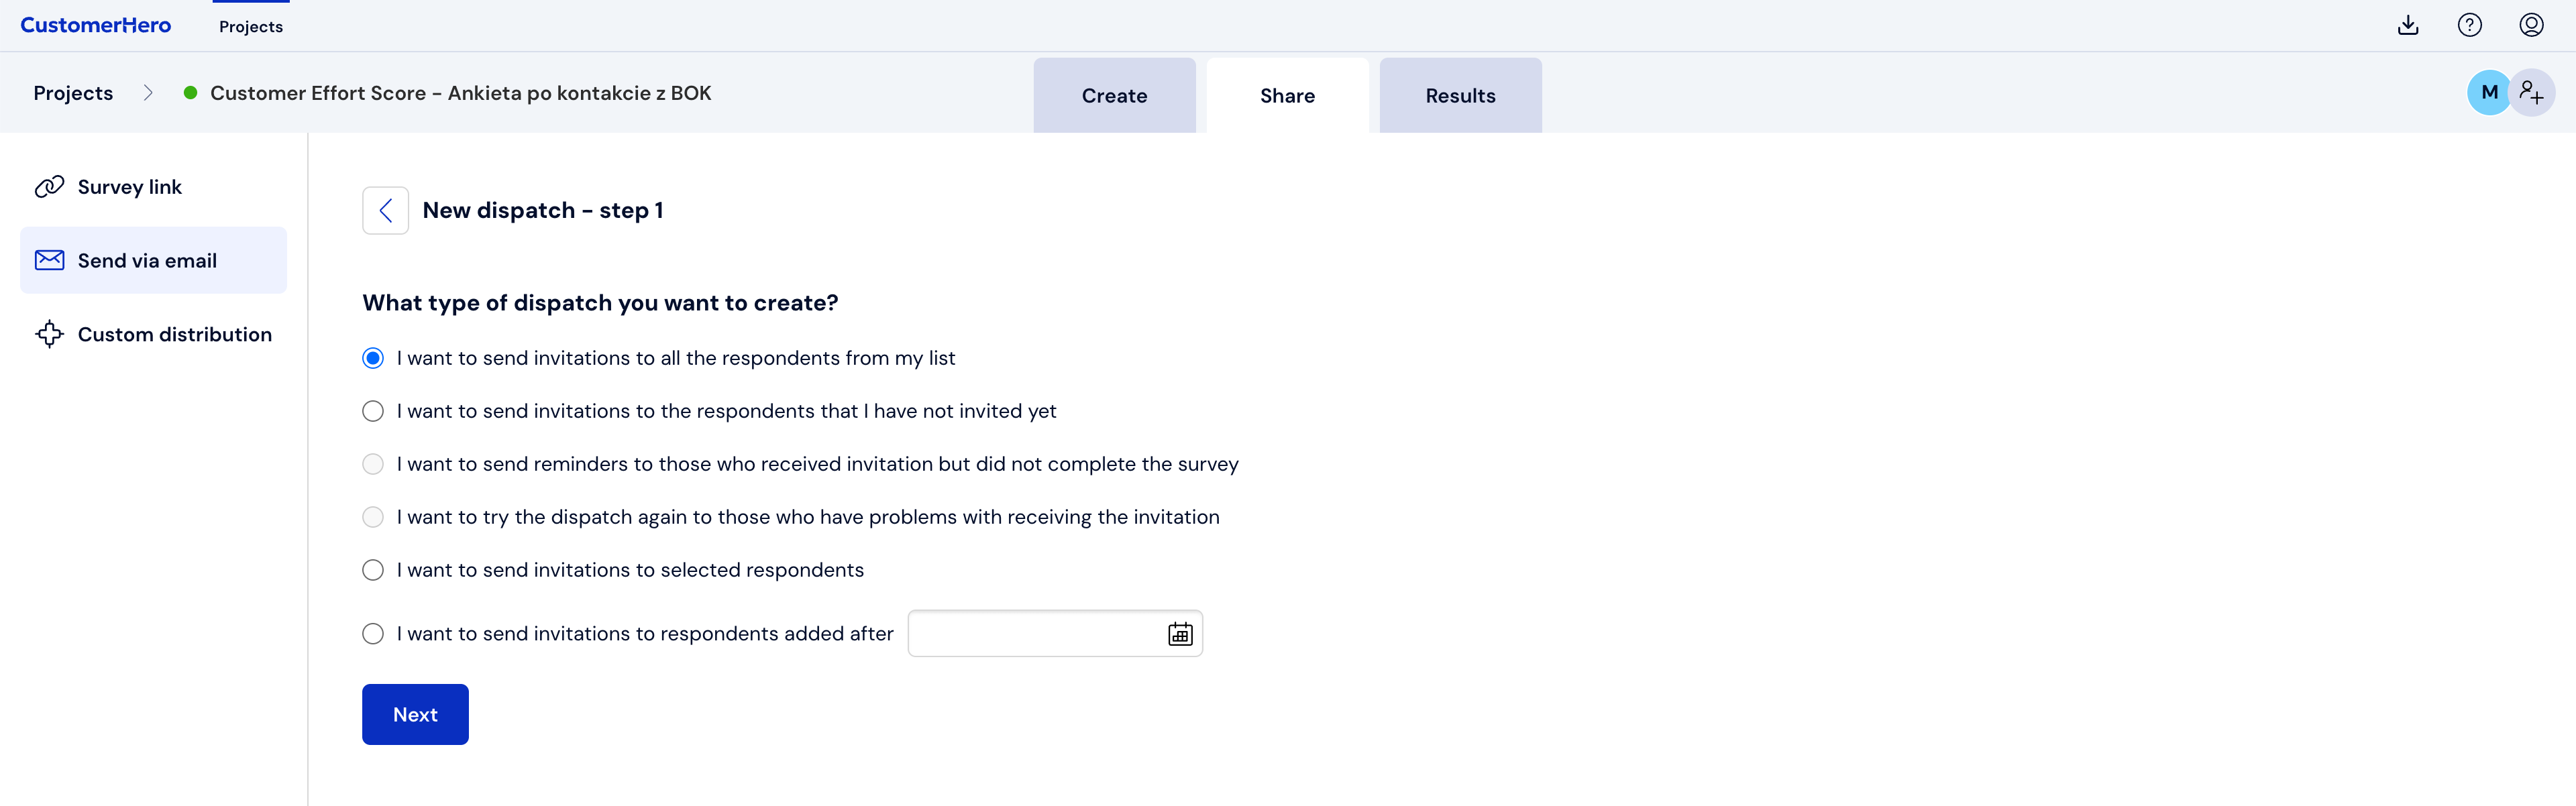
In this step we select any option that will allow us to proceed:
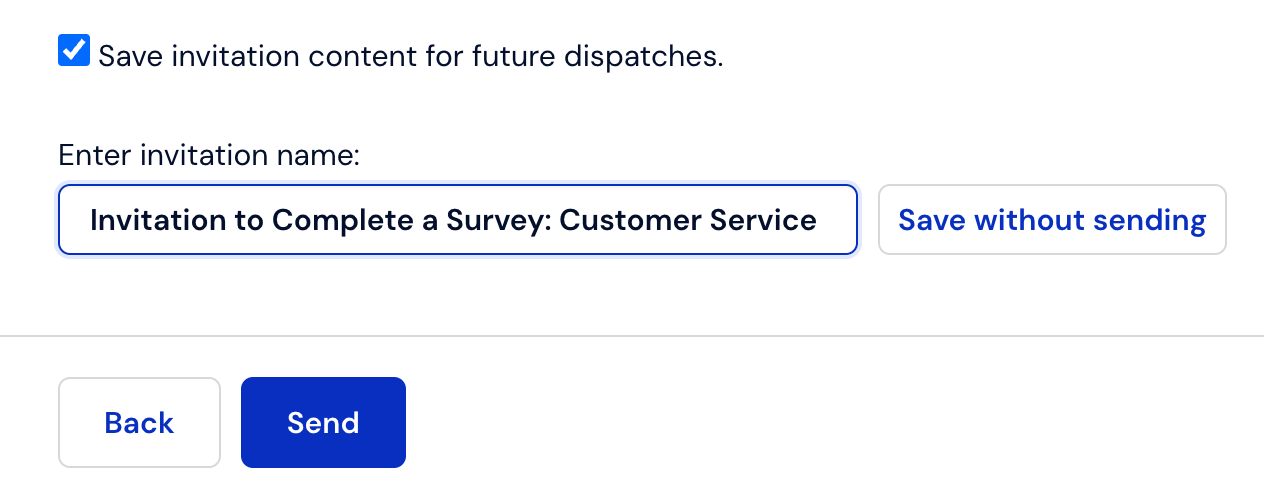
If an invitation template has not been created on your account yet, enter your invitation text in the text editing field and then at the bottom of the screen select "I want to save the invitation content for future mailings", enter the template title and finally press "Save without sending"
In case you already have a ready template or you have several of them, choose the right one from the list of Saved invitations.
We select the invitation template we are interested in.
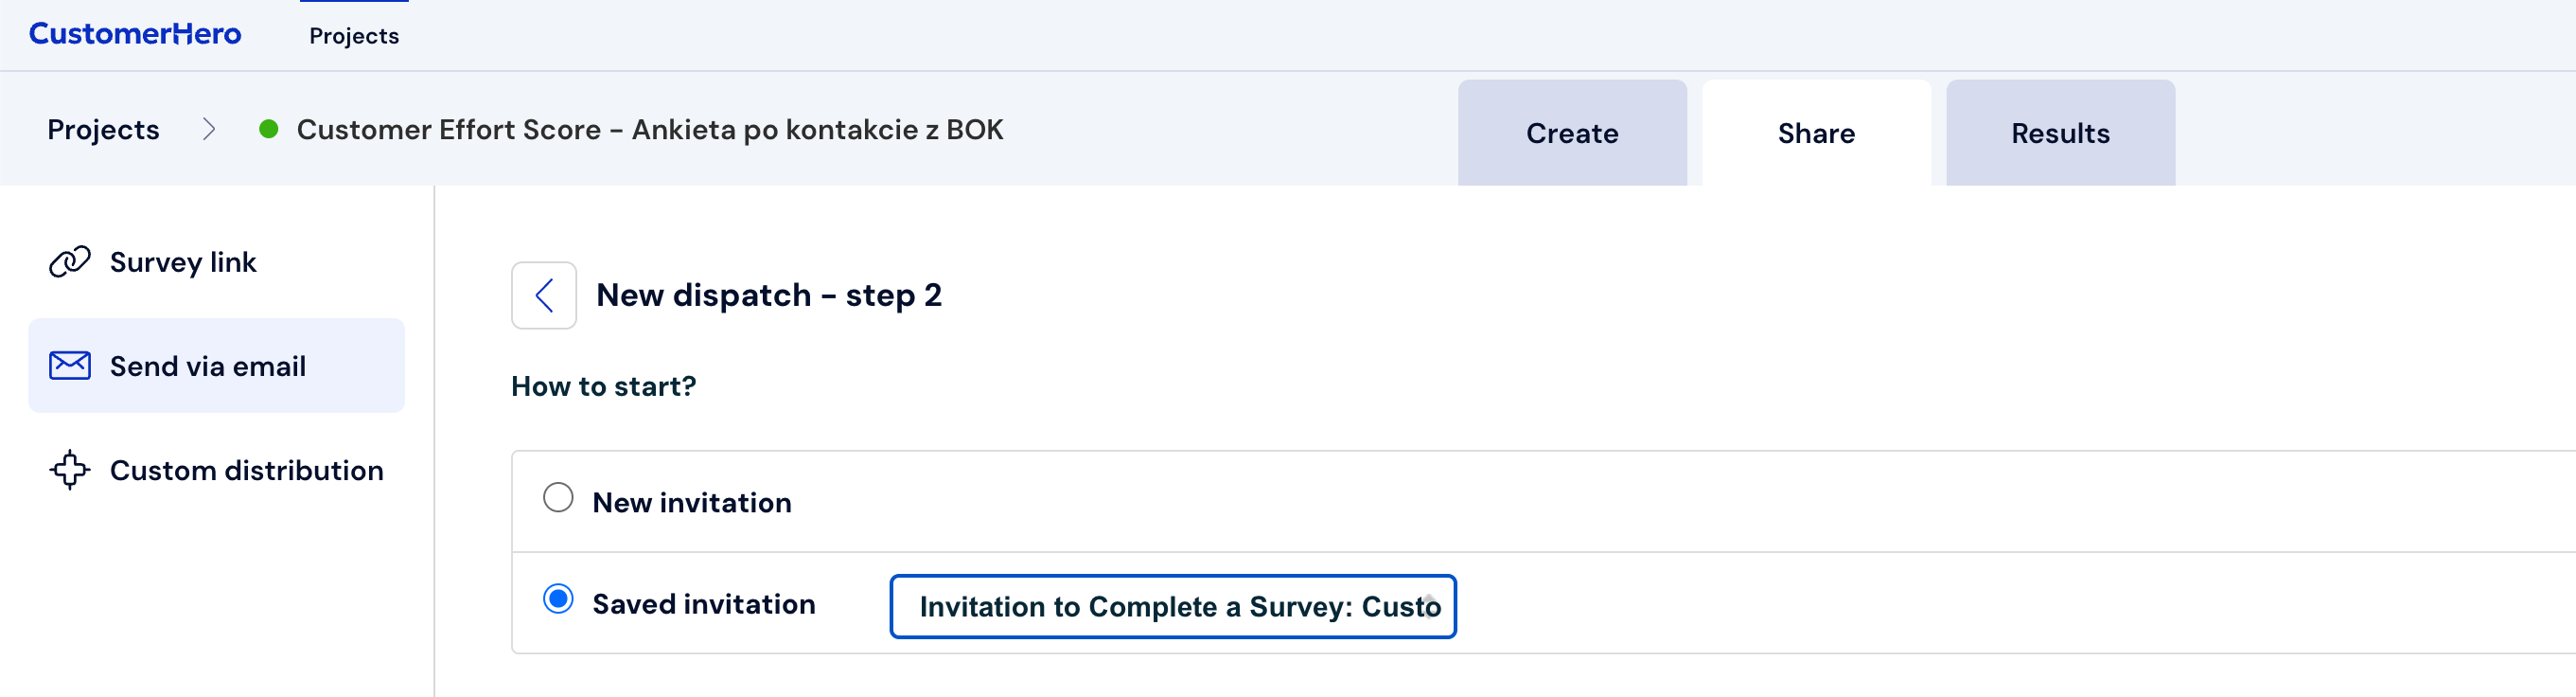
After selecting the template in the browser bar, id_template will be added to the URL address, which we can use further.

Write down the numbers that correspond to the template ID.