
Sharing surveys between accounts
It is possible to share surveys with other CustomerHero users. One of the additional features of our platform allows up to several users to access a single questionnaire simultaneously. Surveys shared in this way can be accessed in Read-only or Full access mode.
Sharing surveys individually
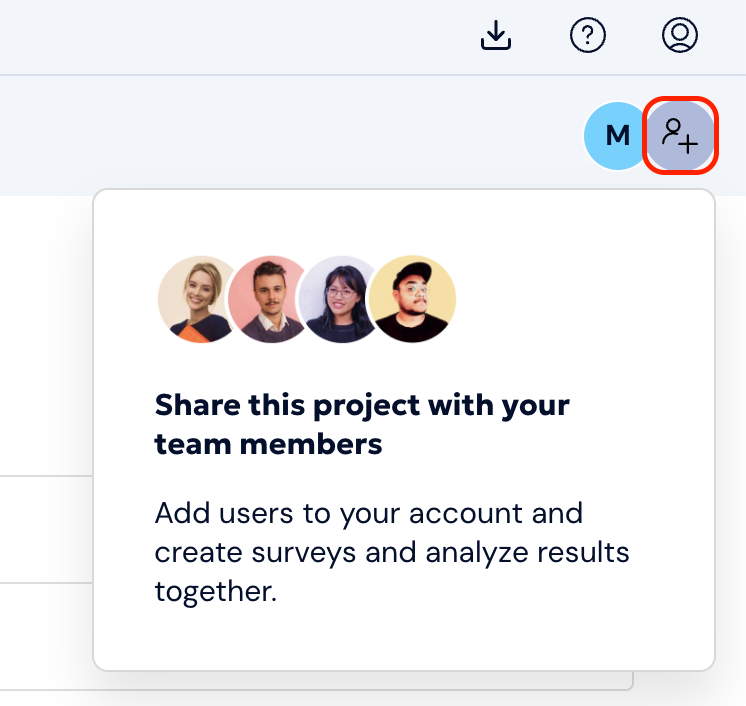
In order to share a survey with another user, select the survey from the list available at the top of the screen or the Projects tab. Next, click on the Invite icon available in the upper right corner of the screen:
2. Next, follow the instructions on the screen.
choose a person from the list
or enter the e-mail address of the person you want to invite to the project.
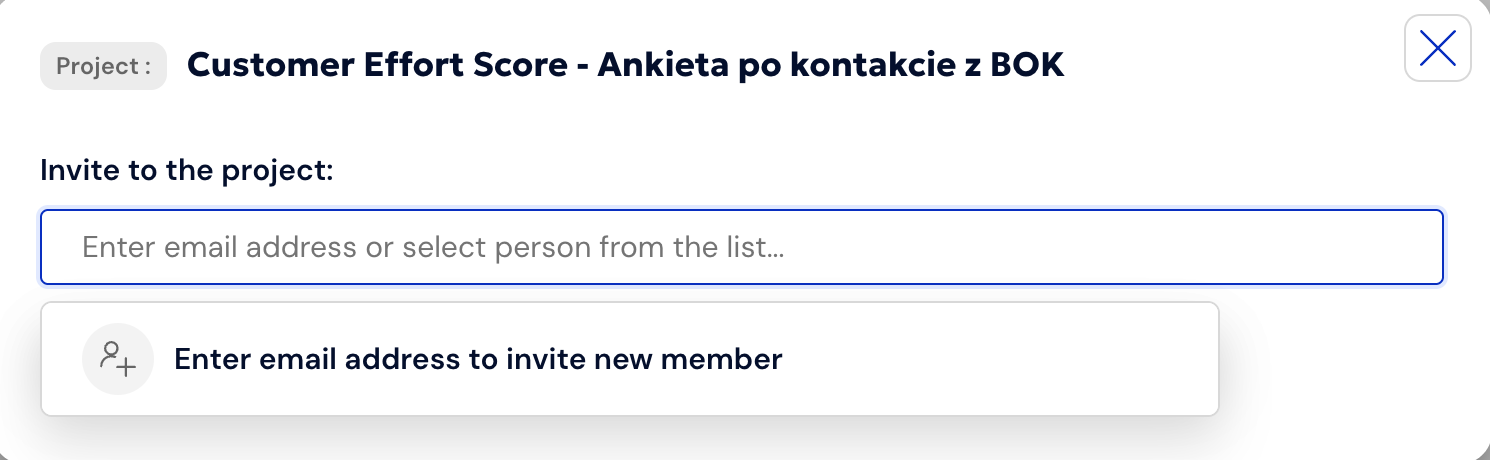
3. You can send invitations to several people simultaneously. After selecting people, you can choose what permissions they should have for the project:
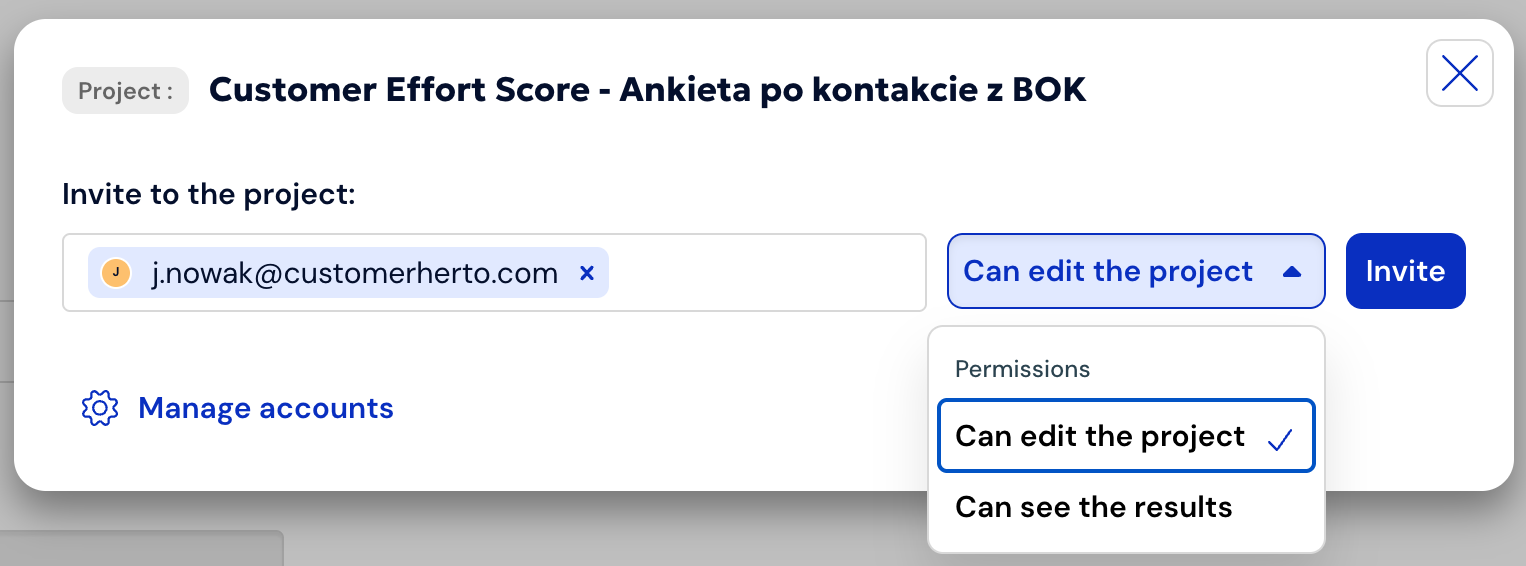
Can edit project
This access gives you full ability to manage the survey. In this case, it is possible to access not only the results but also the settings themselves or the content of the survey, as well as to delete the survey or its fragments (pages, questions, etc.).
Can view results
This is restricted access. The user with whom the survey was shared will only be able to view the questionnaire itself and the collected results. However, they will not be able to edit the survey, its content or form, or any of its settings.
4. Click Invite.
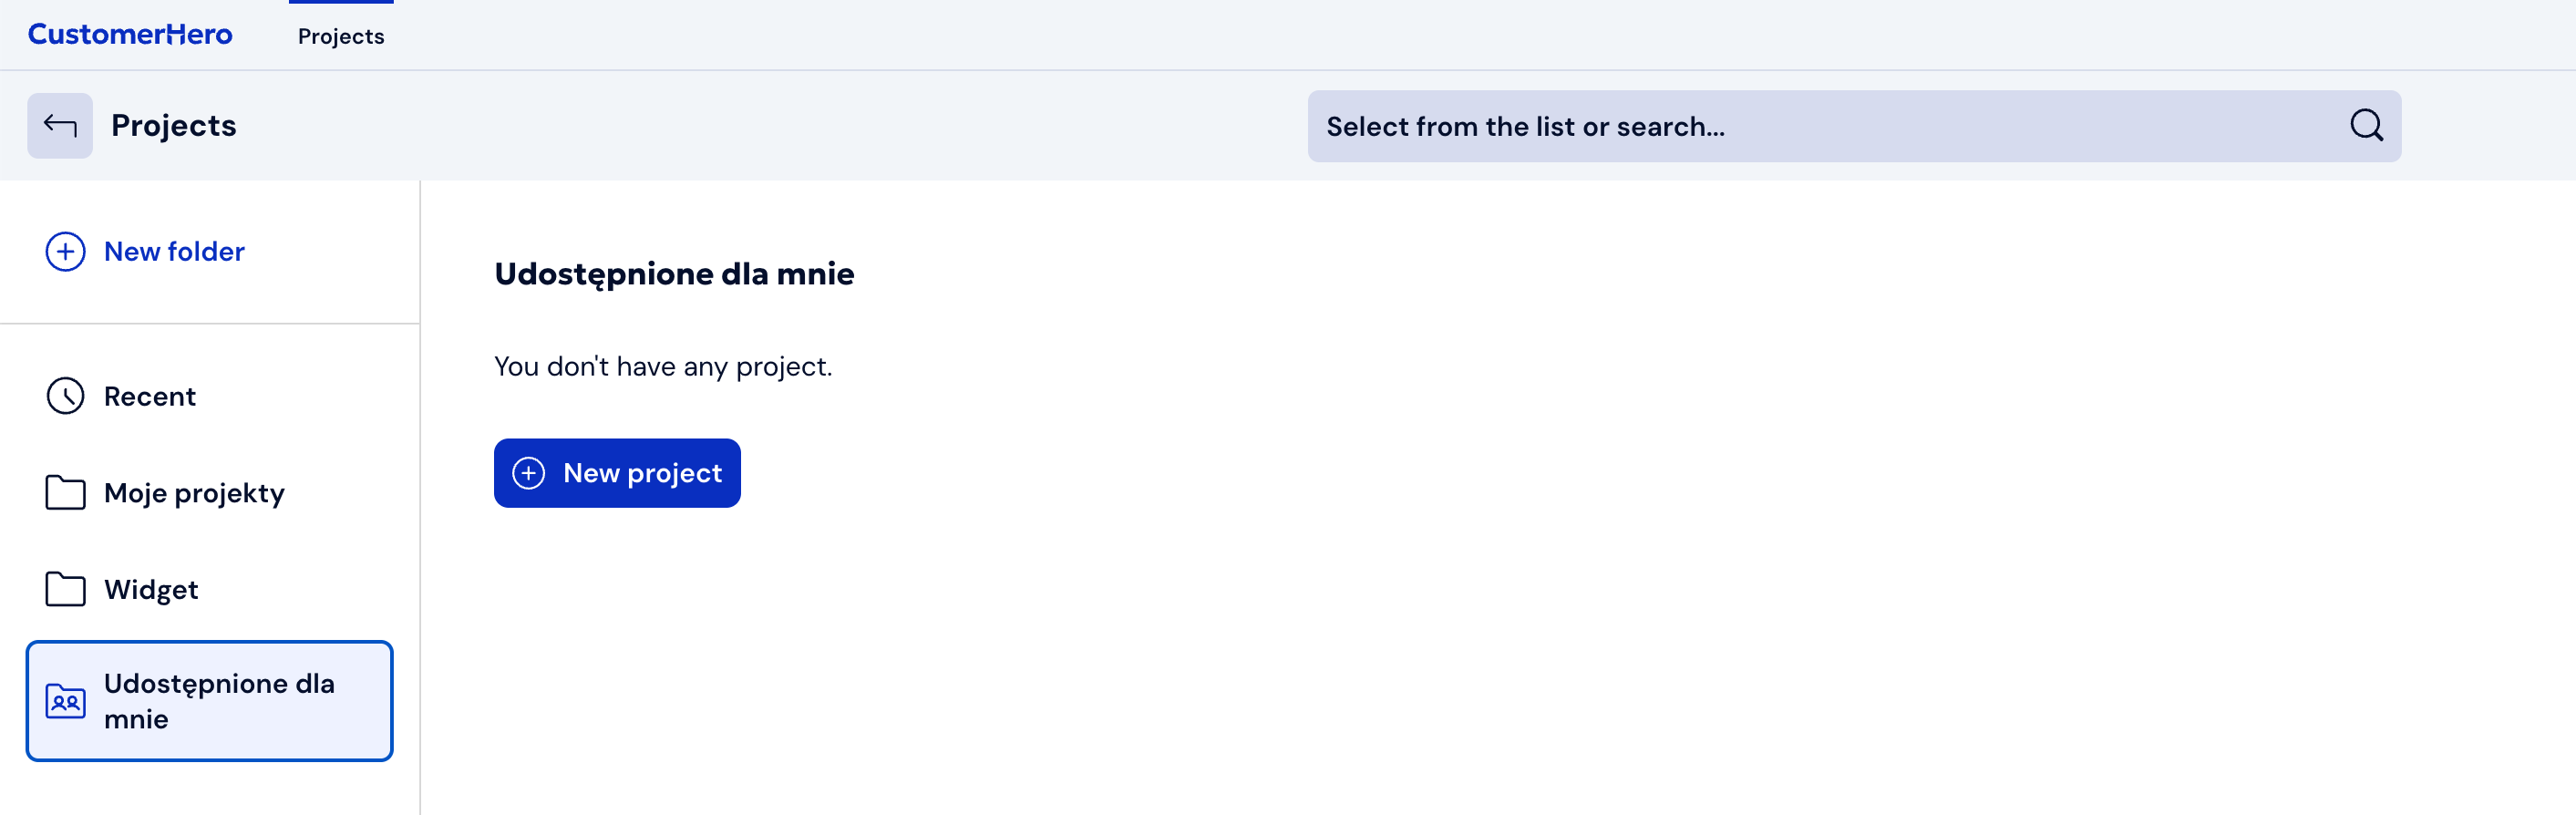
The invited person will receive an e-mail with information about the shared survey. They will see all their shared projects in the "Shared with me" folder.
How to share multiple projects simultaneously?
Teamwork often requires sharing research results or working together on multiple questionnaires. We know that clicking through each survey individually to grant access to it can take a lot of time. That's why we've introduced the mass project sharing feature, thanks to which you can hand over several surveys to your colleagues in just a few seconds.
See how to do it step by step.
How to share multiple surveys at once?
Go to the appropriate folder. Log in to your account and open the folder containing the surveys intended to be shared.
Select the chosen projects. From the list of available surveys, select the ones you want to share by checking the boxes (checkboxes) located to the left of their names.
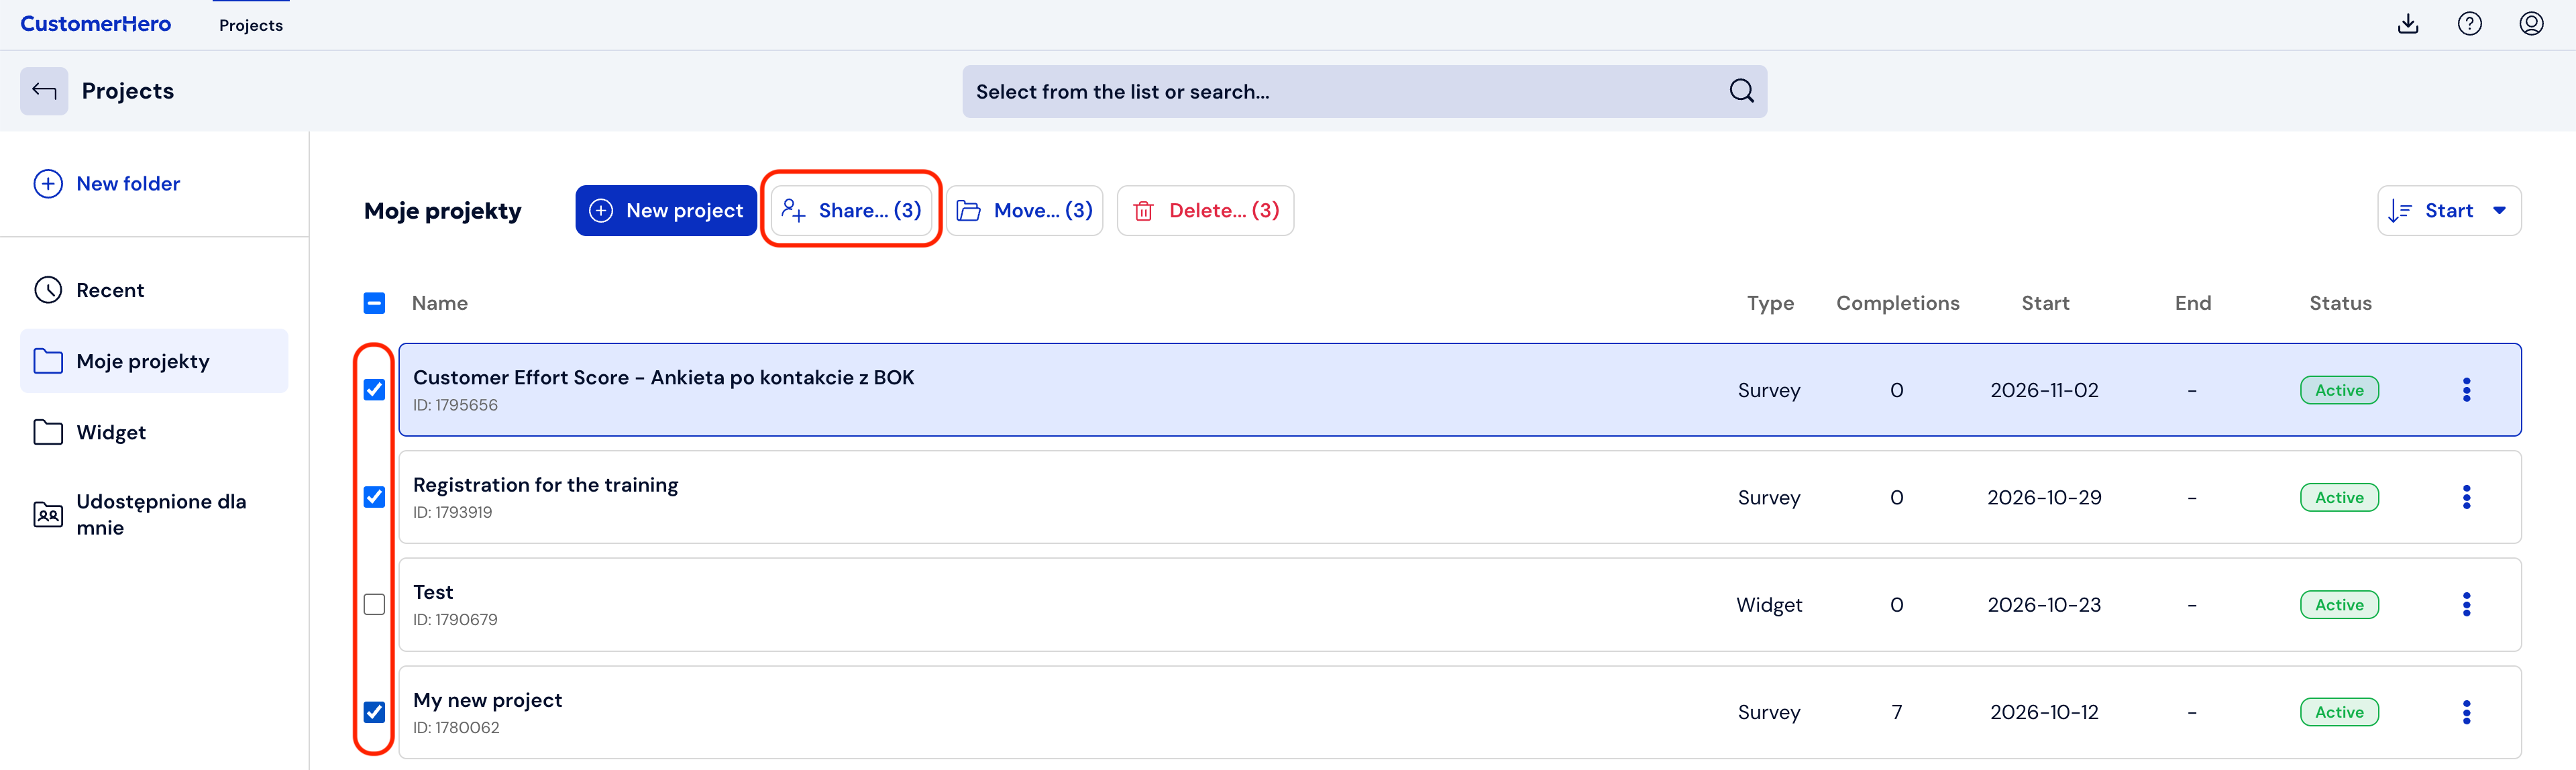
Select the Share option. On the top bar above the list of projects, click the Share button. You will see the number of items you selected on it (e.g. Share (3)).
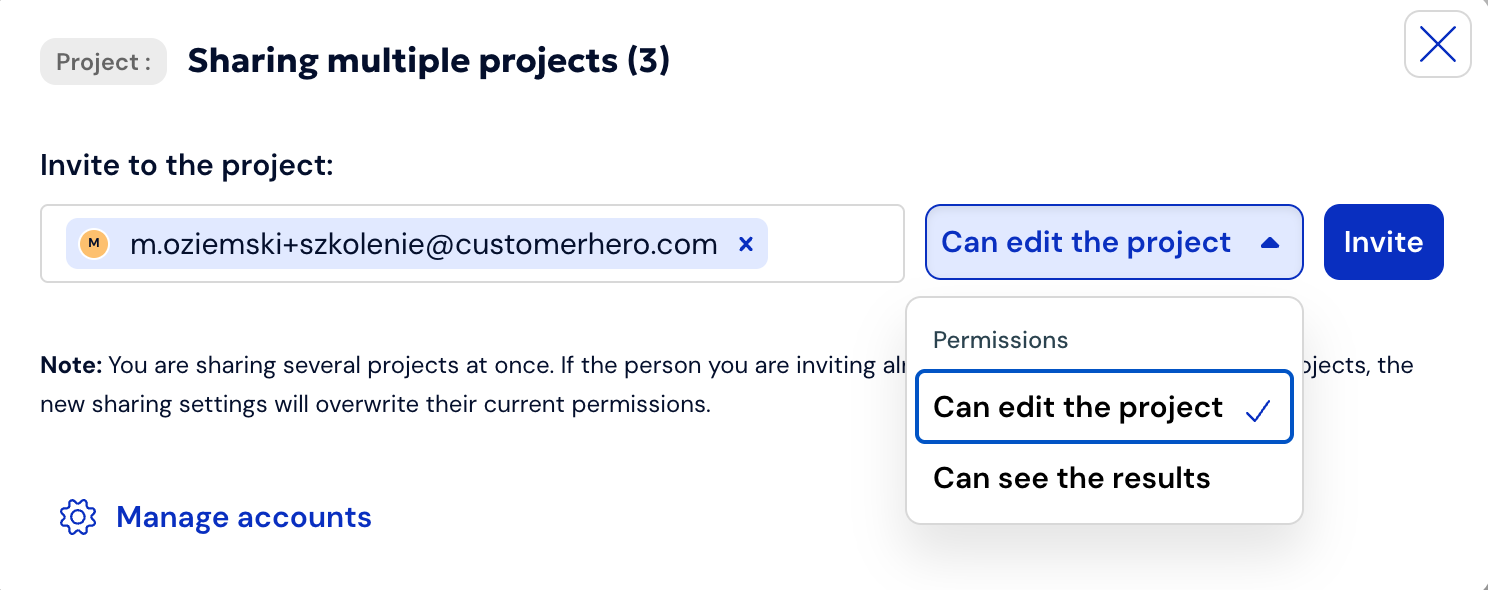
Enter e-mail addresses and specify permissions. In the window that appears, enter the e-mail addresses of the people who are to receive access. From the drop-down list, select the appropriate permission level for these users:
Can edit project (Full editing access)
Can view results (Access limited only to viewing the collected data)
Send invitations. Click the green Invite button.
What will the invited person see?
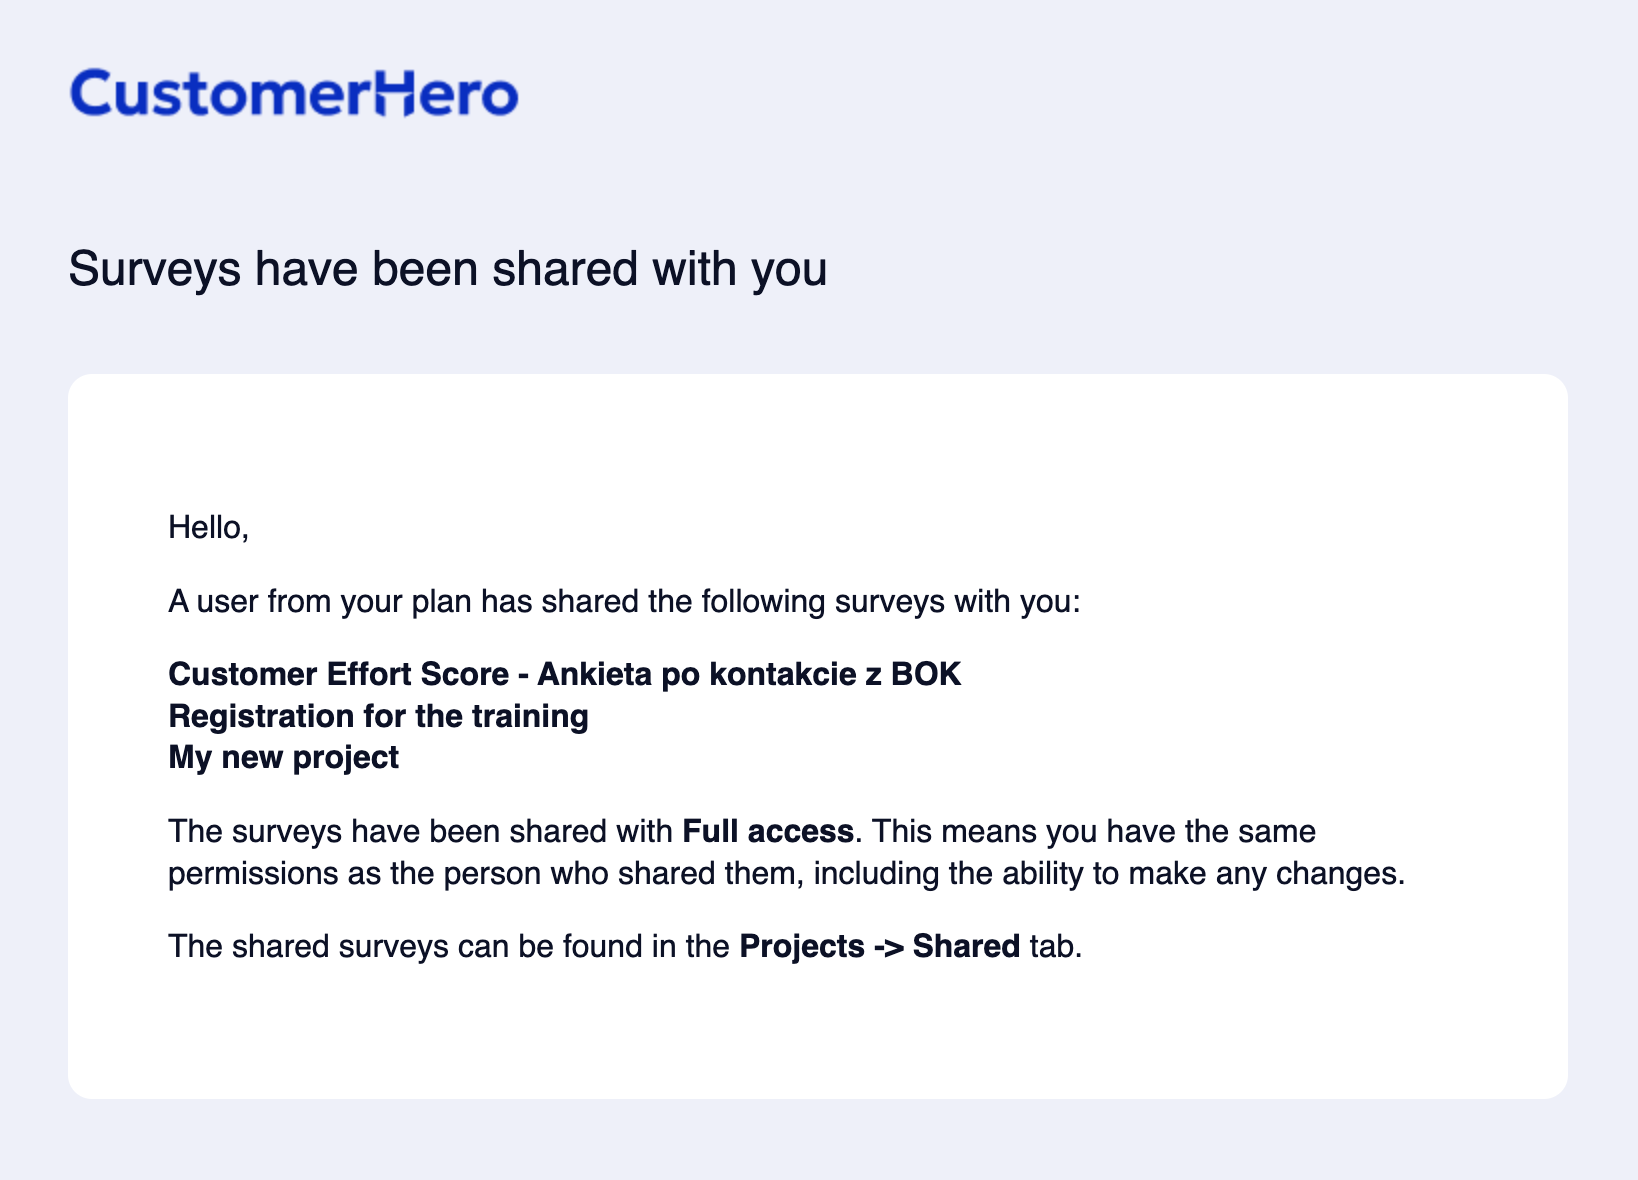
You do not need to additionally inform your colleagues about granting access – the system will do it for you. Each of the indicated people will receive an e-mail notification containing all the key information:
List of shared surveys: A clear list of titles of projects to which access has been granted.
Permission level: Clear information about what the user can do with the survey (e.g., information about the Full access mode, which allows you to make any changes).
Location of projects: An indication of exactly where on the platform the new surveys are located. All questionnaires transferred in this way will be visible after logging in to the Projects -> Shared tab.
Thanks to this, your team immediately knows what they can start working on and to what extent!
Worth remembering
You can invite new people to the project if you have free spots in your plan. If you want to invite more people, contact our sales department.